Checkout
Take payment after a patient's visit, sell products on their own, and review or reverse past checkouts.
Auto-generated from the in-app Help for /checkout — source of truth src/lib/help-content/.
Check out a single appointment
Take payment for one completed visit.
- On the Ready for Checkout tab, find the patient's row. Use the Search patients... box to filter by name if needed.
- Click the Checkout button at the end of the row to open the Patient Checkout dialog.

- (Optional) Add products, a discount, pre-pay, wellness card, or CHI Cash — see the other tasks.
- Under Payment Method, choose Card, Cash, or Check, then take payment.
- Click Complete Checkout.
💡 Tip: A patient only appears in the queue after their appointment is marked completed. Discount, CHI Cash, and Wellness Card options appear only when the visit qualifies.
Check out several same-day appointments at once
Combine a patient's multiple same-day visits into one payment.
- In the queue, find a patient showing a number badge (for example "2 appointments") and a right-facing arrow at the start of the row.
- (Optional) Click the row to expand it and see each appointment's practitioner, service, and time. Click again to collapse.
- Click the Checkout All button on that patient's row to open the Consolidated Checkout dialog.
- Review the Total Summary card, choose a Payment Method, and take payment.
- Click Complete Checkout ([n] appointments).
Add products to a checkout
Charge for products alongside the visit.
- In the checkout dialog, find the Add Products card.
- To add a serialized item, click Scan or type serial, scan the barcode or type the serial (e.g. "CHI000123"), and press Enter. Each scan adds one item.
- To add a non-serialized item, click Search products..., type to find it, and click the product. It is added with quantity 1; use the minus and plus buttons to change quantity.
- After adding a product, use the Product Commission Attribution card to set who gets commission — open each dropdown and choose House Account or a practitioner.
- To remove an item, click the X on its chip.
💡 Tip: Products linked to an active prescription show a Token badge and are attributed automatically — you can still override the choice.
Pay with pre-pay credits
Cover a visit using a patient's pre-pay package.
- In the checkout dialog, find the Use Pre-Pay Credits card. Eligible packages list the name, who bought it, the remaining balance, and an "Appointment charge" amount.
- Click the package you want to use.
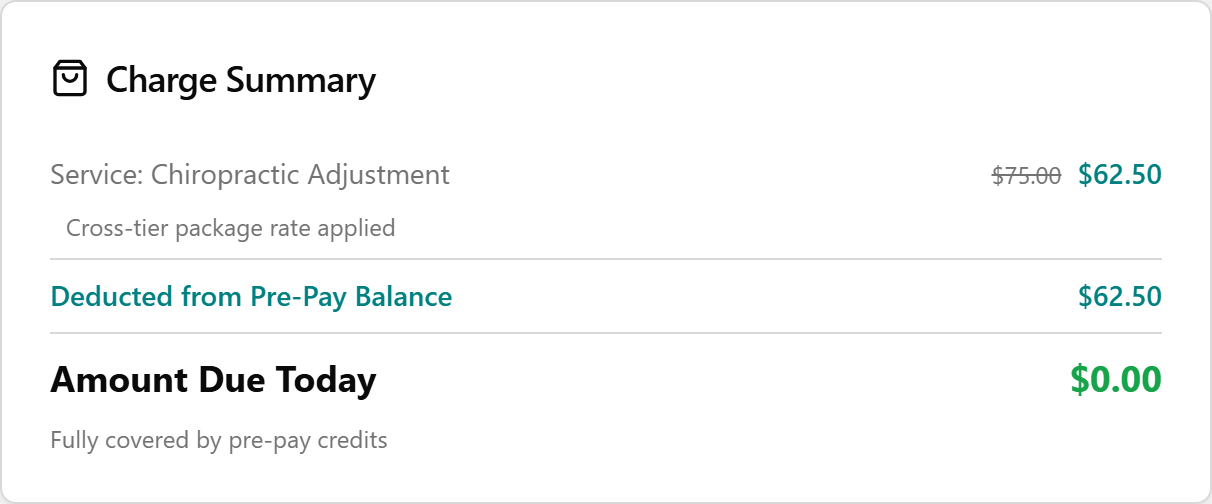
- Confirm Amount Due Today shows $0.00 (no terminal payment needed), then click Complete Checkout.
💡 Tip: Selecting a pre-pay package hides the discount and CHI Cash cards because the visit is fully covered. Leave Pay with regular payment methods selected to skip pre-pay.
Apply a discount or CHI Cash
Lower the total with a discount or the patient's CHI Cash credit.
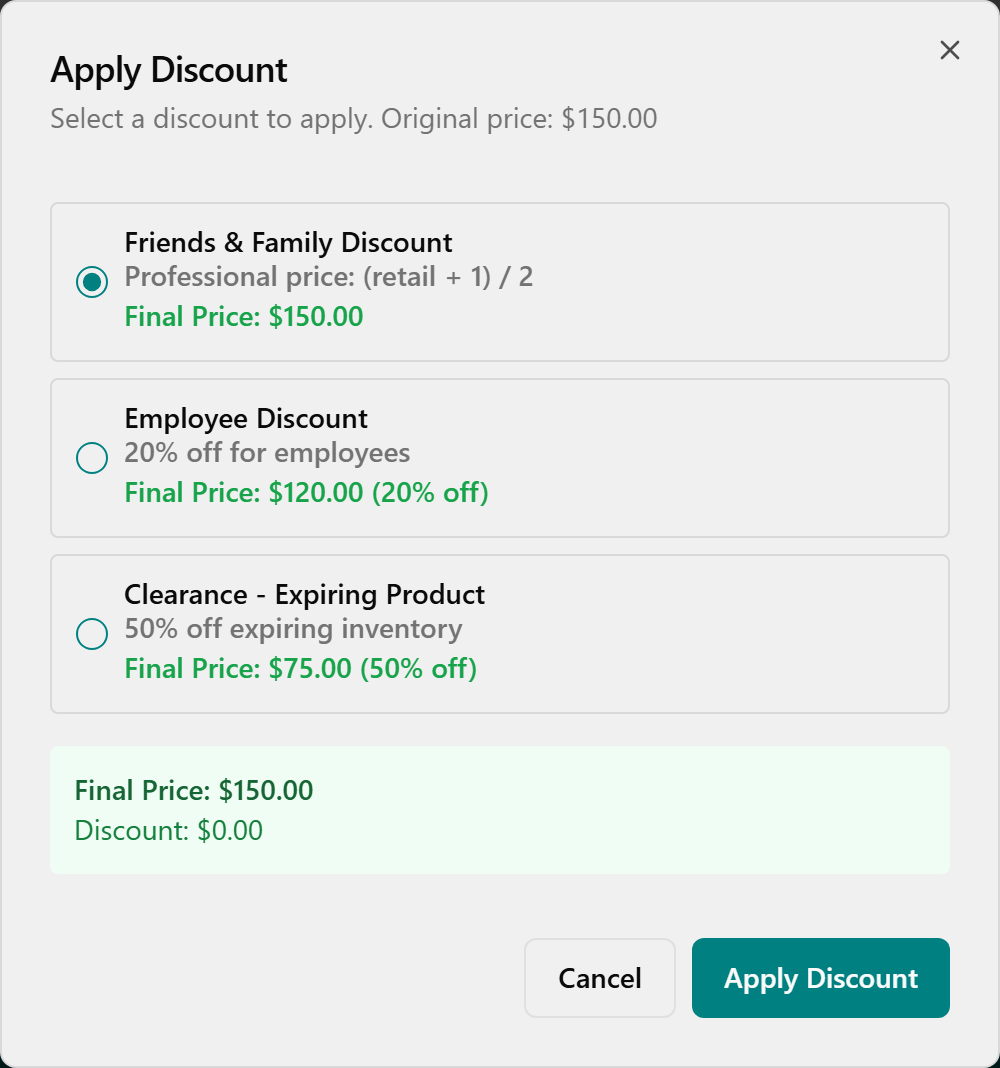
- For a discount, click the Apply Discount button in the Apply Discount card.
- In the Apply Discount dialog, pick a discount (each shows its name, description, and resulting Final Price), then click Apply Discount.
- For CHI Cash, click Use CHI Cash in the CHI Cash Credit card, enter an Amount to Use, and click Apply.
- Each applied credit appears as a green line in the Charge Summary and lowers the total.
💡 Tip: If a discount says "Requires manager override," get approval before applying. CHI Cash caps at the available credit or the amount owed.
Take a card payment at the terminal
Charge the patient's card through the Dejavoo terminal.
- In the Payment Method card, click Card, then Pay with Card (amount).
- When you see "Present card on terminal," have the patient tap, insert, or swipe.
- On success you'll see Payment Approved with the card type, last 4 digits, and auth code.
- If it fails, click Try Again, or Record as Card (no terminal) to log it without the terminal.
- Click Complete Checkout.
💡 Tip: For card payments, Complete Checkout stays disabled ("Pay at Terminal First") until the terminal approves or you choose Record as Card (no terminal). A Terminal Online / Offline indicator shows next to Payment Method.
Sell products without an appointment (Quick Sale)
Sell products to a patient who has no appointment in the queue.
- Click the Quick Sale tab.
- In the Select Patient card, click Search or select a patient... and pick (or create) the patient.
- In the Add Products card, scan a serial or use Search products... to add items.
- In the Order Summary, set each product's Commission: dropdown to House Account or a practitioner.
- Under Payment Method, choose Card, Cash, Check, or PrePay, and take payment.
- Click Process Payment (amount).
💡 Tip: PrePay is only enabled when the patient has available packages, shown with an "[n] available" badge — then pick one under Select PrePay Package.
Void a payment or return products
Reverse a past checkout from the Checkout History tab.
- Click the Checkout History tab and find the checkout in the table.
- To void, click the red Void button (shown only on Credit Card payments made today through the terminal), review the details in the Void Card Payment? dialog, and click Void Payment.
- To return products, click the orange Return button (shown for product sales within the last 30 days), select the product, set the Quantity to Return, and add an optional Return Reason.
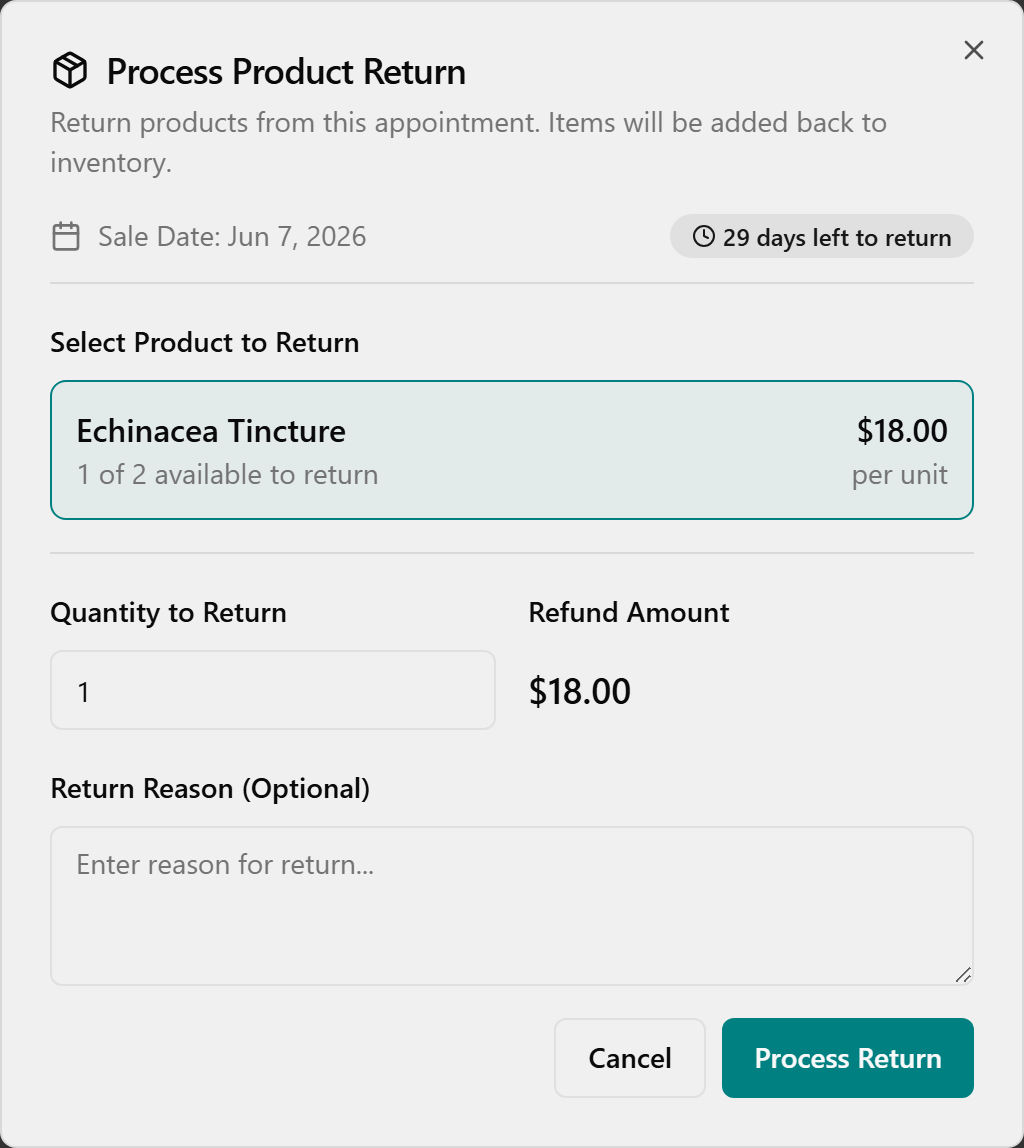
- For a card sale, leave Refund to card checked to send the refund to that card, then click Process Return.
💡 Tip: Voiding cannot be undone. The 30-day return window is enforced. After a void or return, the history table does not auto-refresh — reload the page to see the updated row.