Schedule
The Schedule is your daily appointment calendar. Pick a task below to see the steps.
Auto-generated from the in-app Help for / — source of truth src/lib/help-content/.
Choose the day you’re viewing
Move between days or jump straight to a date.
- In the toolbar, click ‹ to go back a day or › to go forward a day.

- To jump to a specific date, click the date button in the middle of the toolbar.
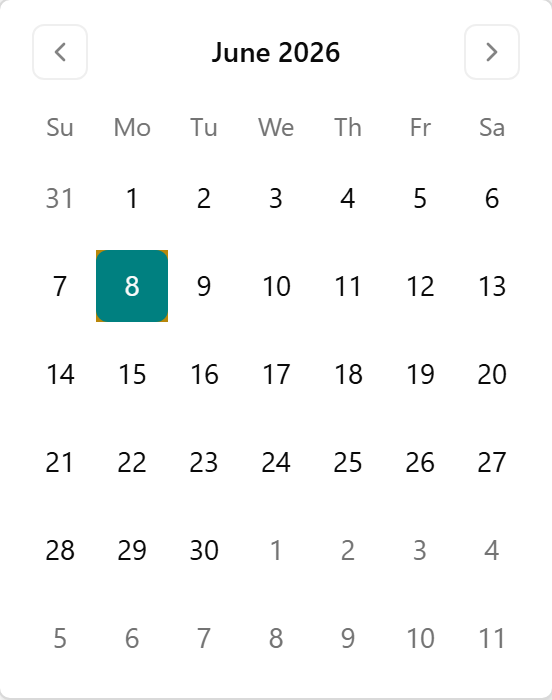
- Pick the day you want in the calendar. The grid reloads for that date.
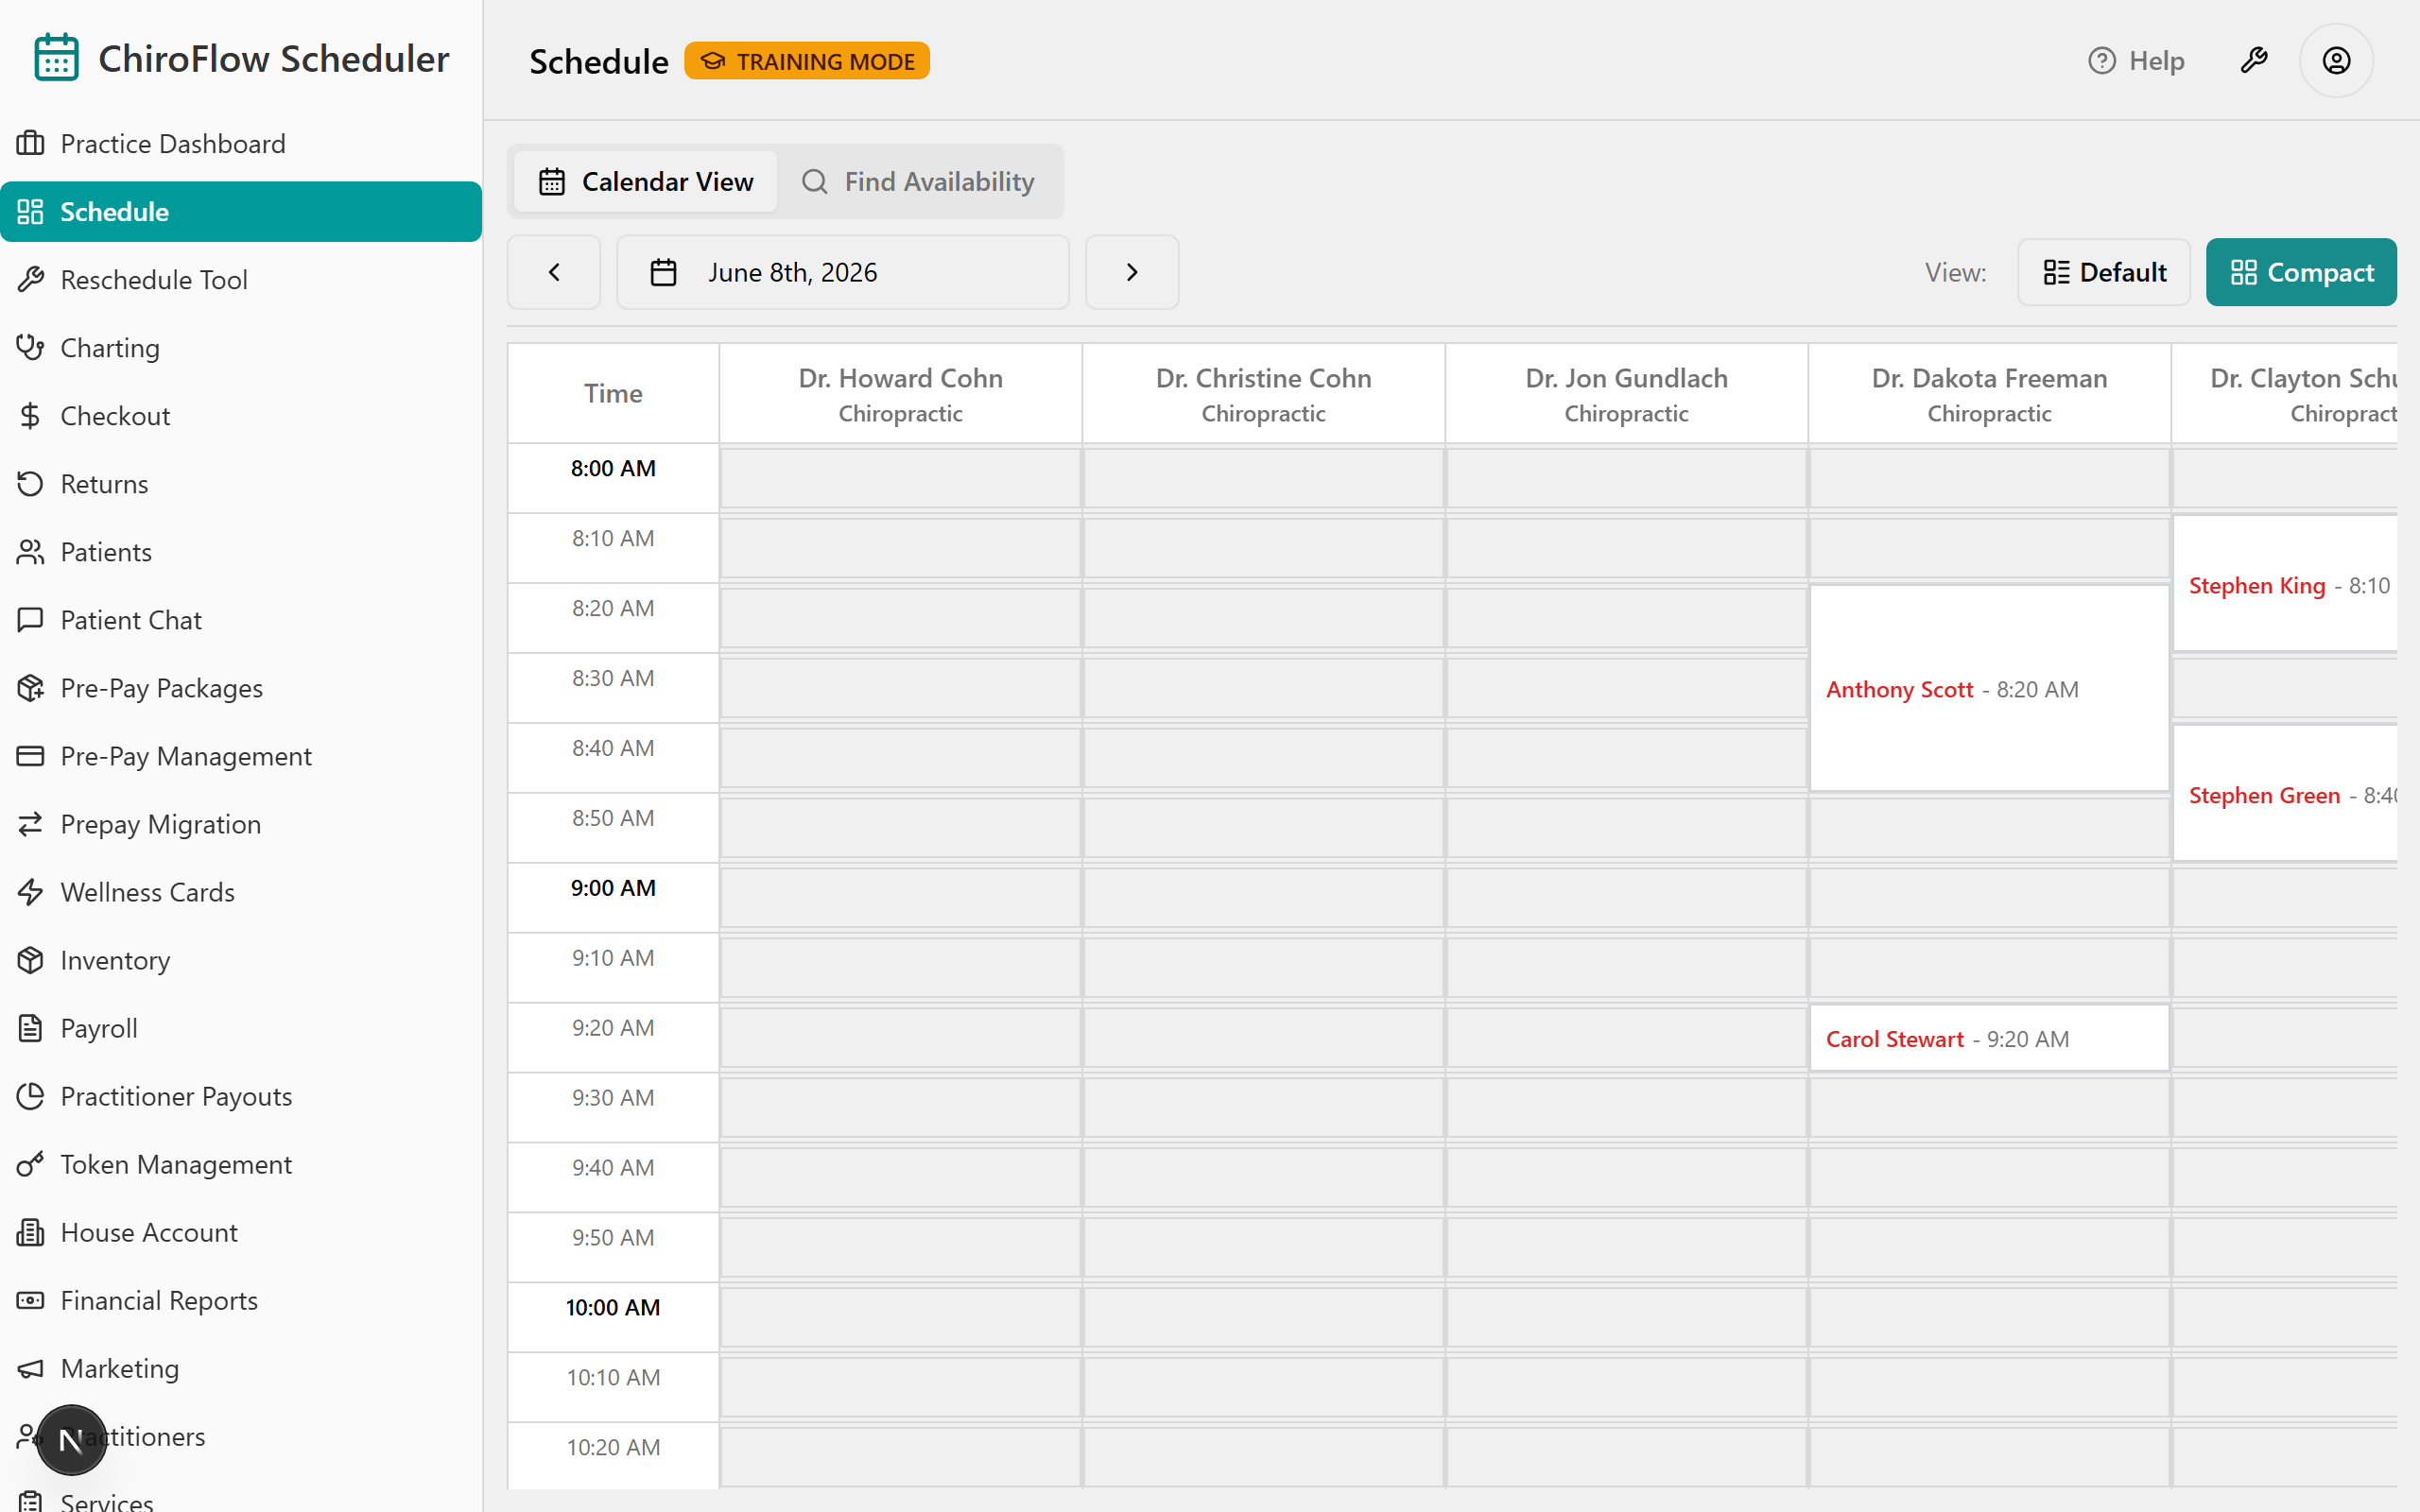
Switch between Default and Compact views
Default shows larger cards with on-card buttons; Compact is a denser grid you act on by right-clicking.
- On the right of the toolbar, find the View: label with the Default and Compact buttons.

- Click Default for larger cards with action buttons, or Compact for a condensed grid.
Book an appointment
Add a new appointment to an open time slot.
- Find an empty (white) slot in the column of the practitioner you want, at the time you want.
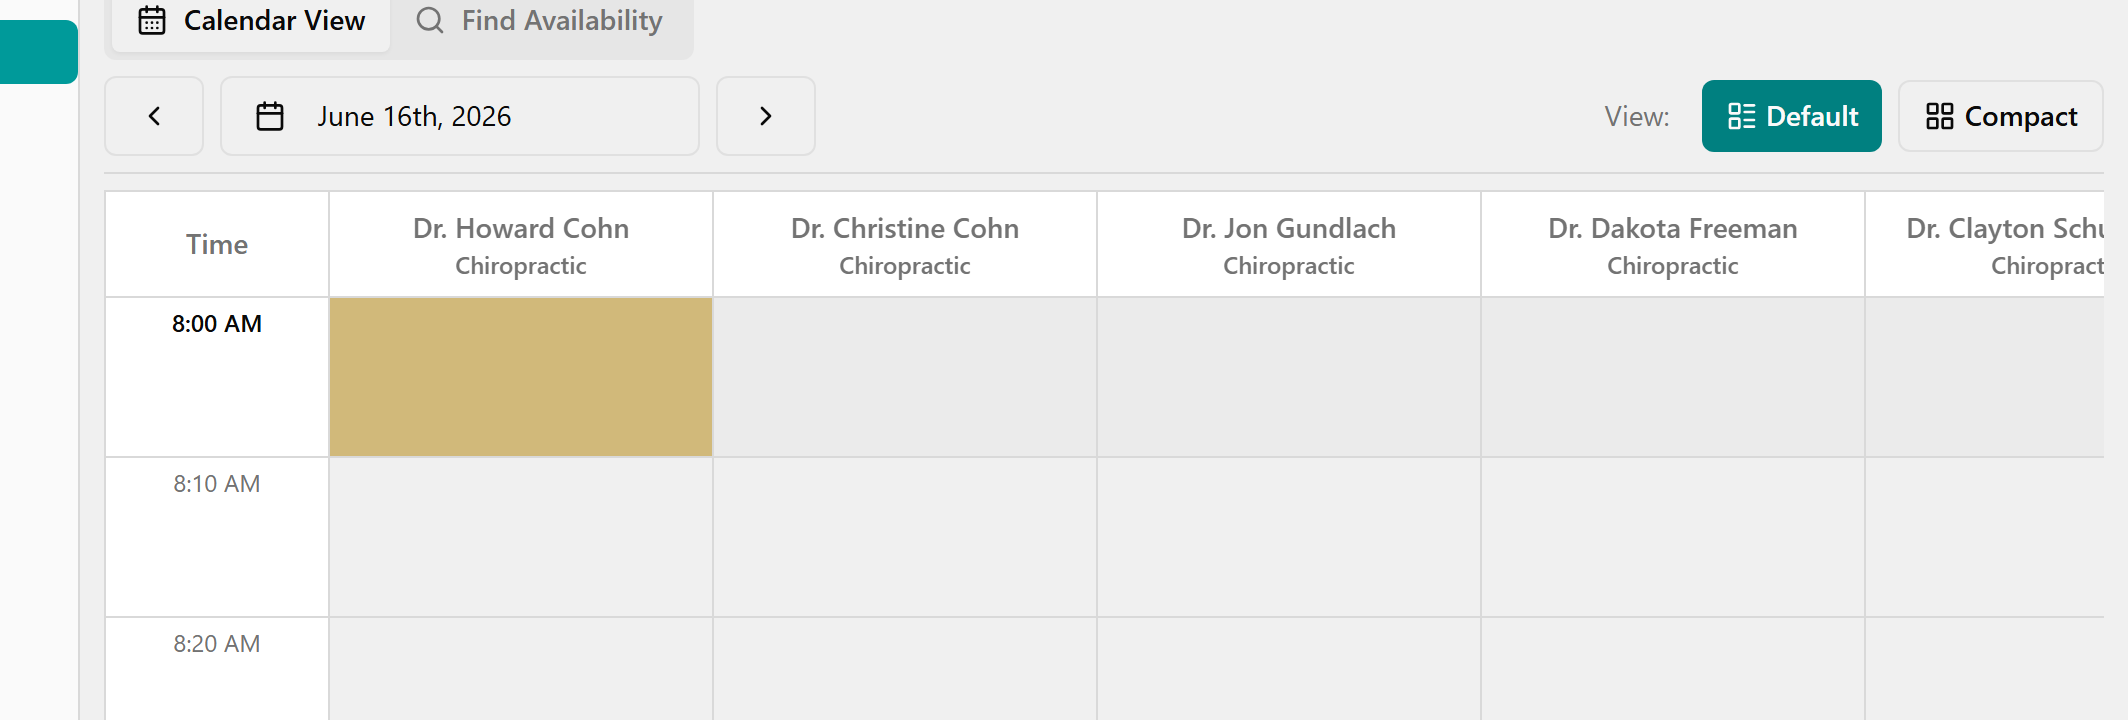
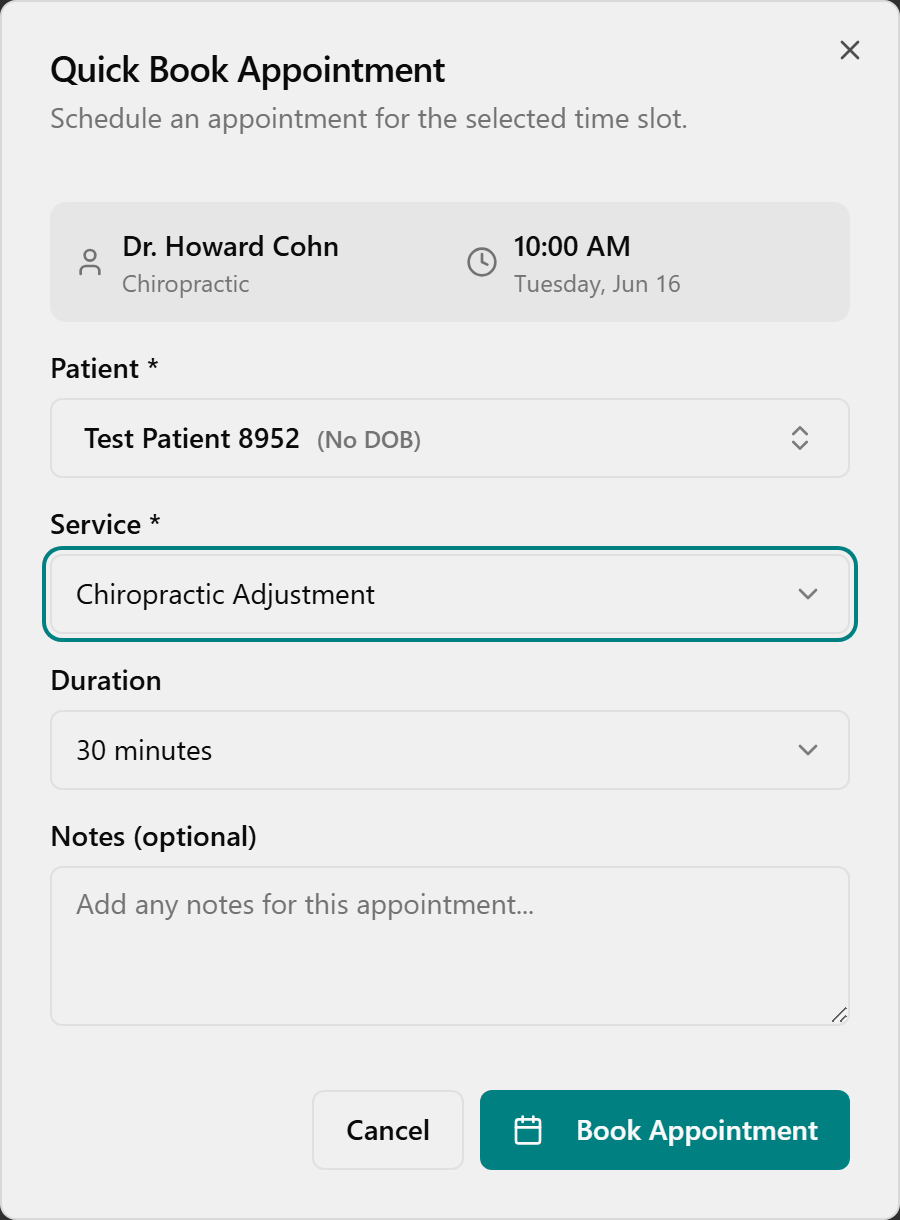
- Click the empty slot. The Quick Book Appointment window opens.
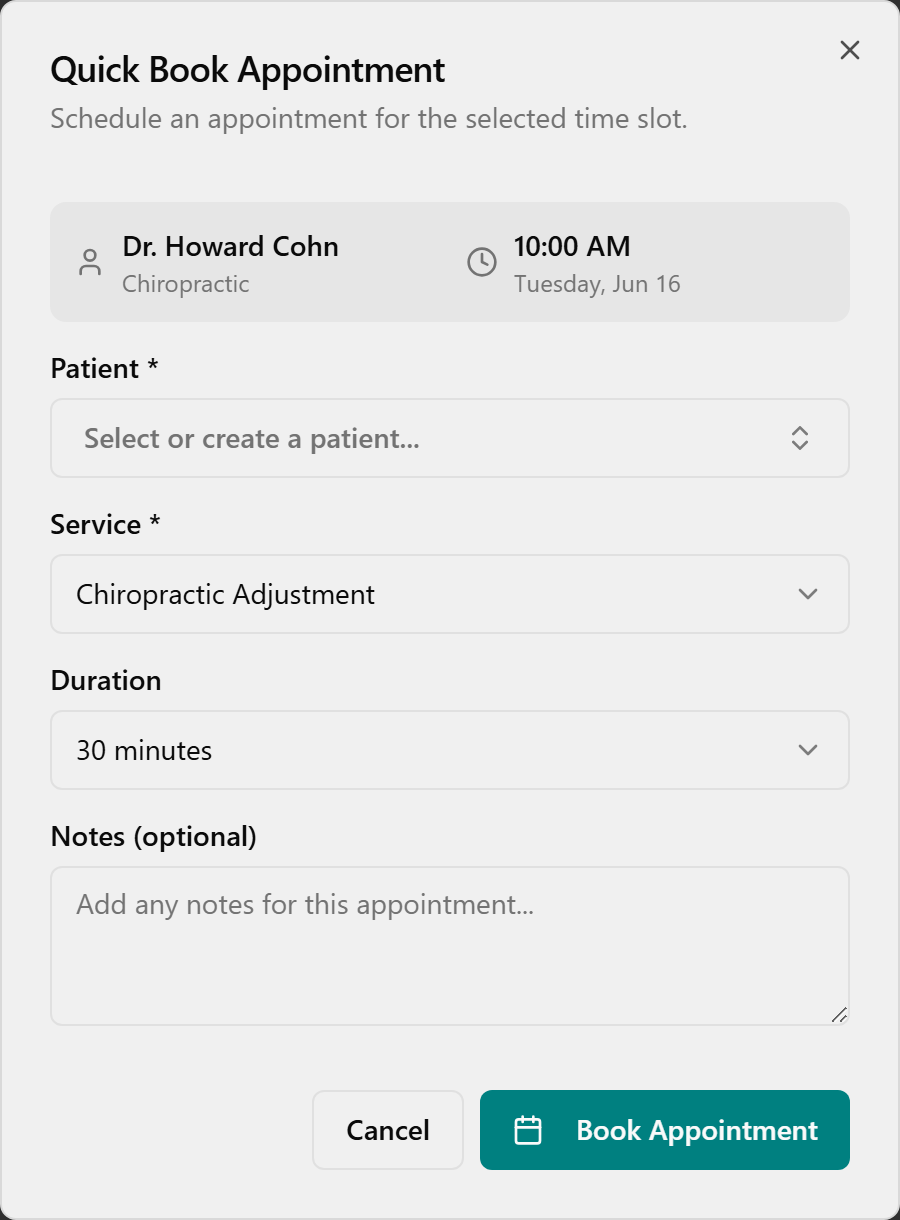
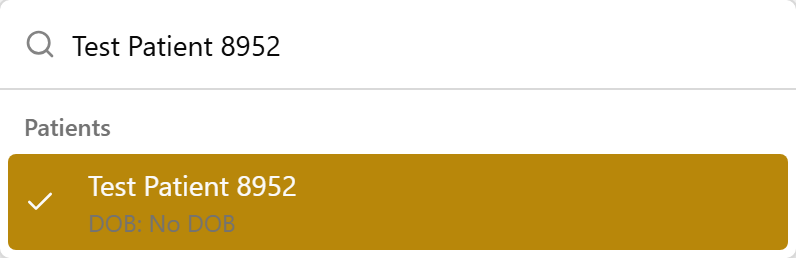
- Click the Patient box, then pick a patient from the list — or type a name to search.
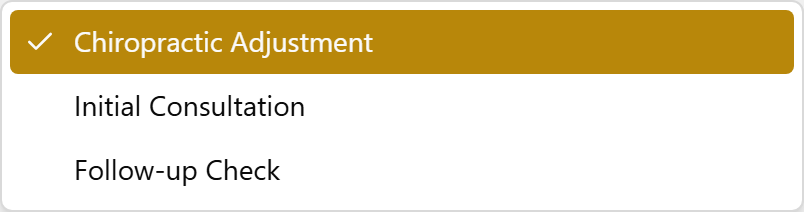
- Under Service, choose the service for this visit. Only services this practitioner offers are listed.
- Under Duration, choose how long the appointment should be.
- Optionally, type anything useful into Notes.
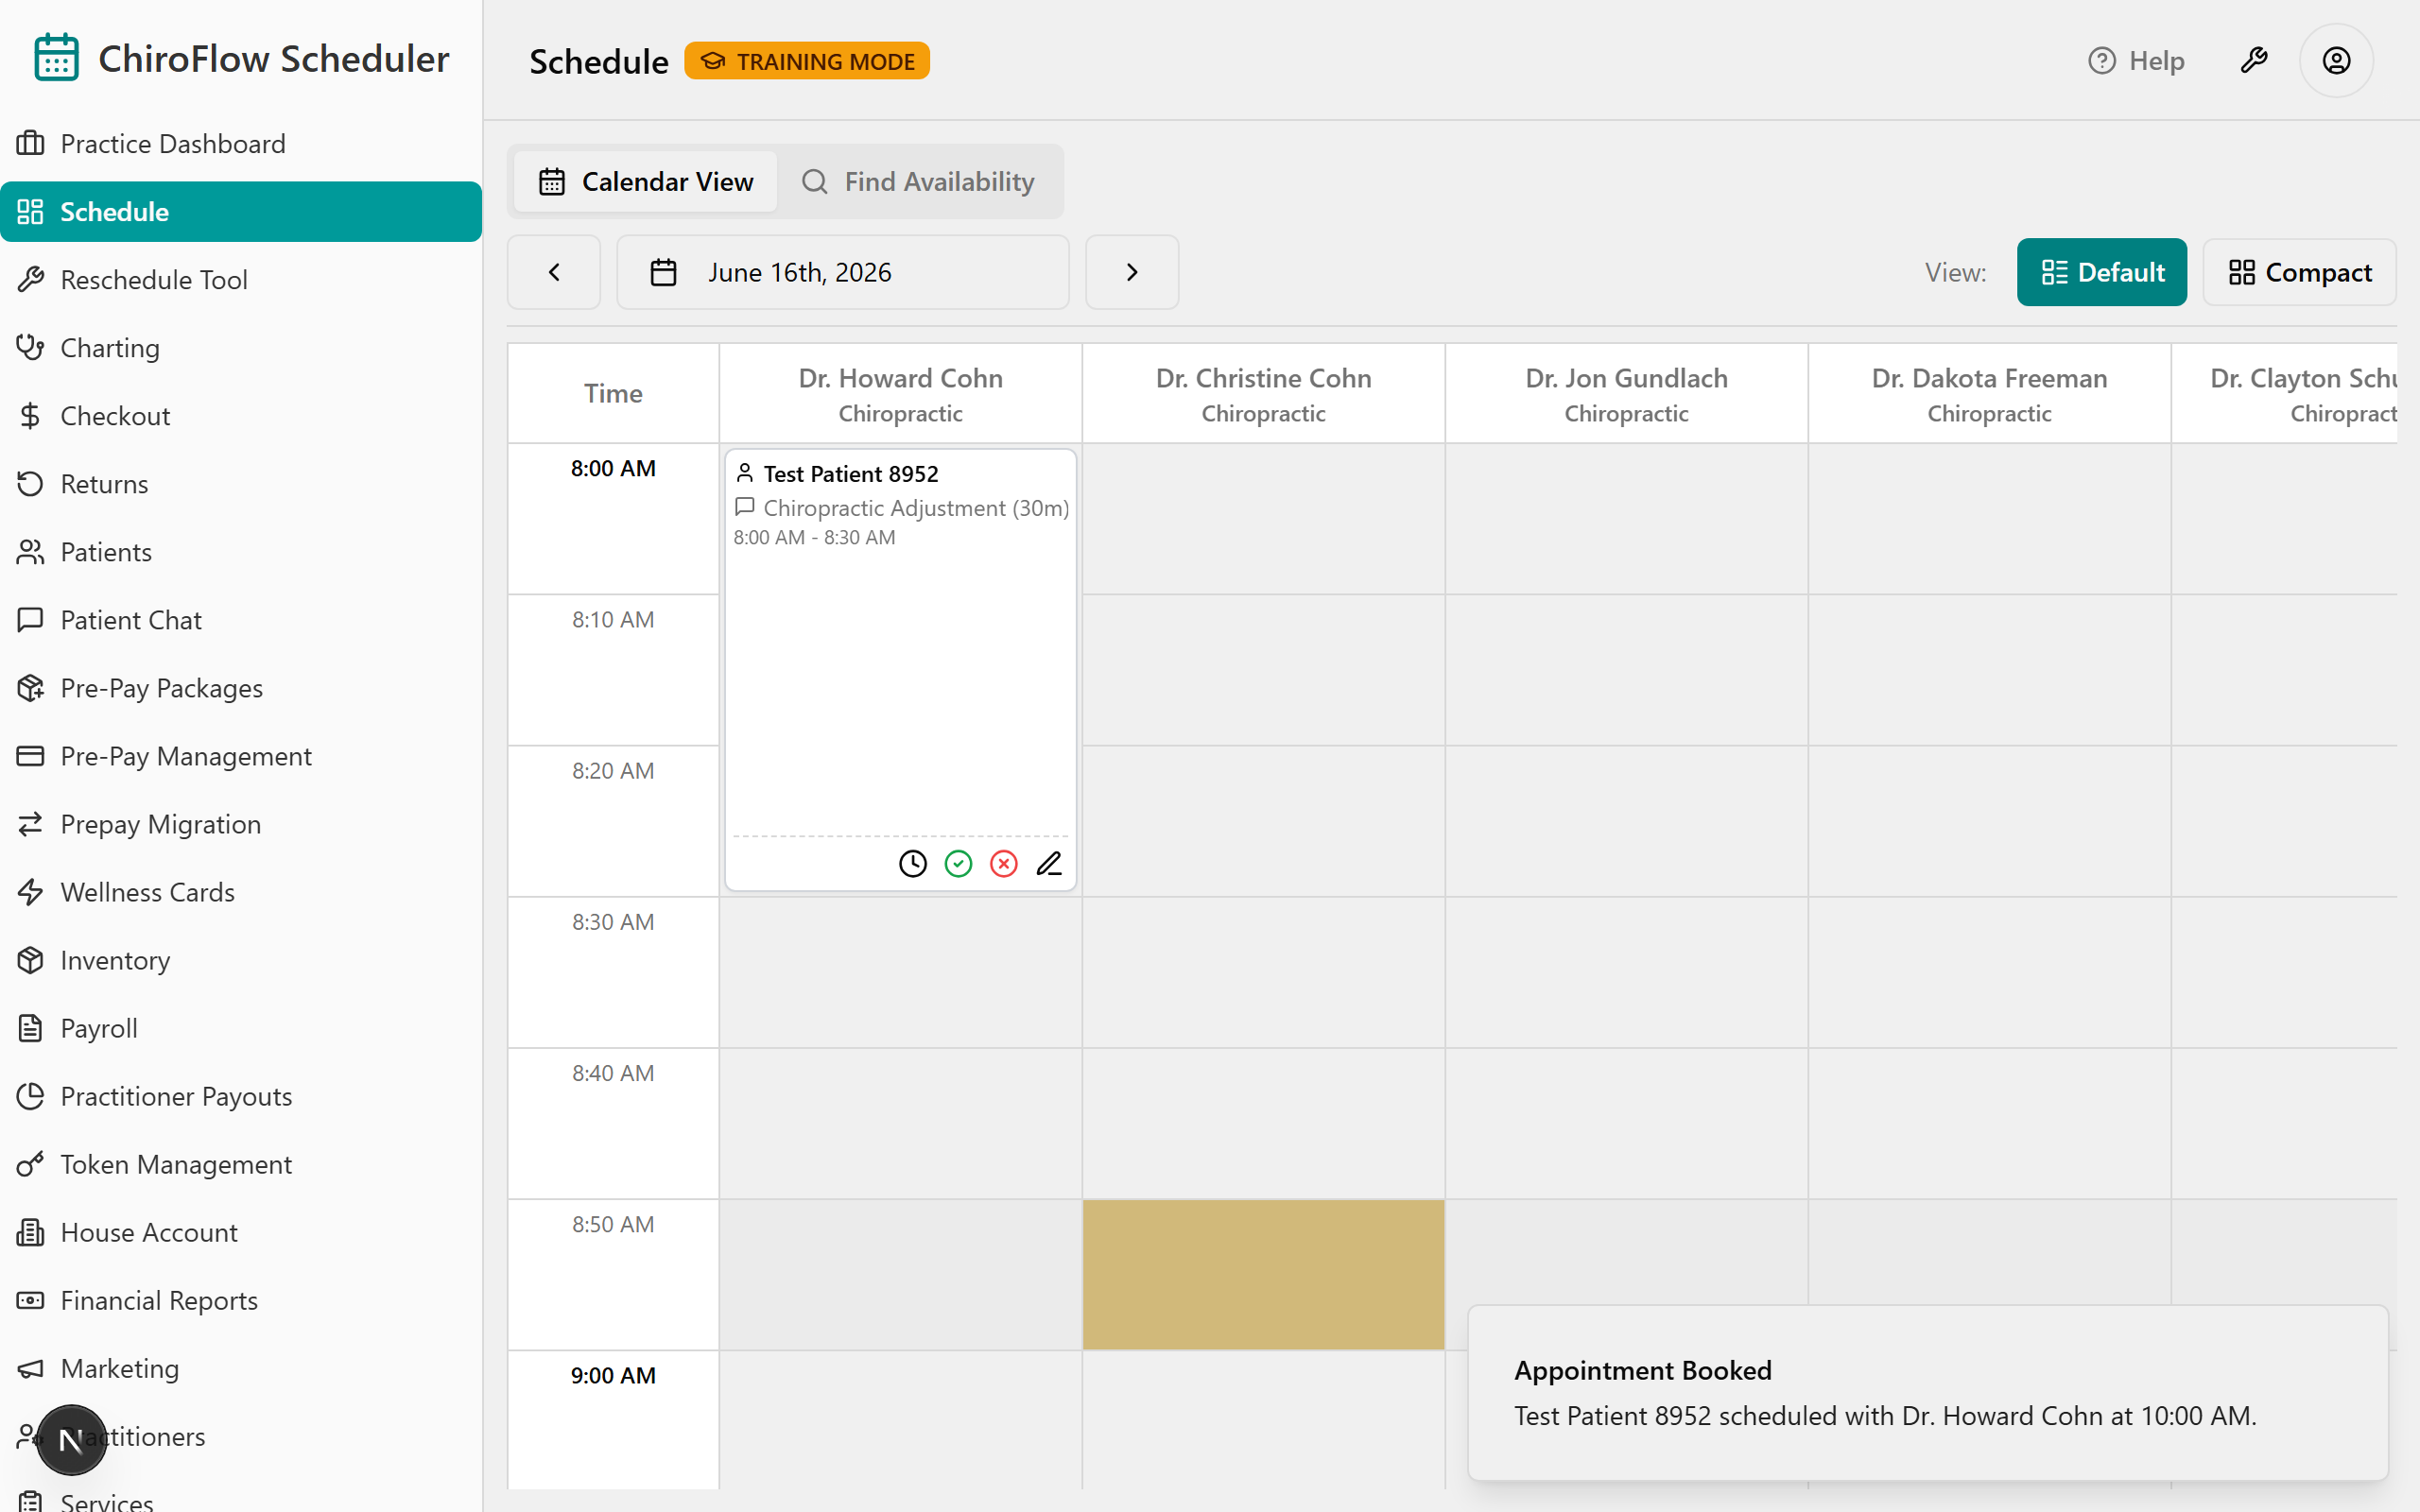
- Click Book Appointment.
- The appointment now shows as a card in the slot, and a green Appointment Booked message appears in the corner.
Add a new patient while booking
Create a patient on the fly if they’re not in the list yet.
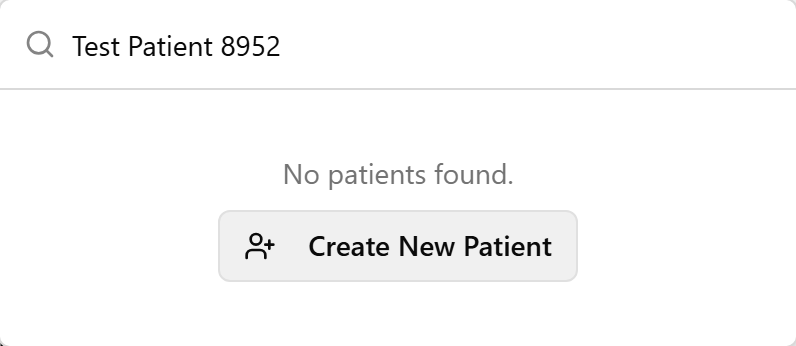
- In the Quick Book Appointment dialog, click the Patient box and type the patient’s name.
- If they aren’t found, click Create New Patient.
- In the Quick Add Patient dialog, fill in Name, plus Date of Birth and Phone Number if you have them.
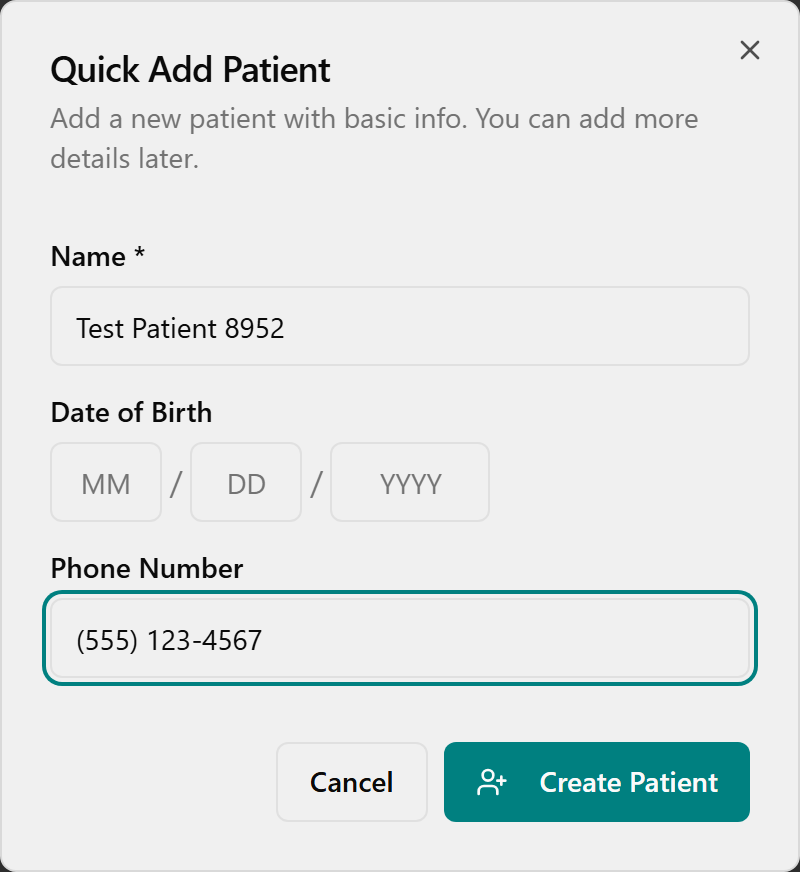
- Click Create Patient. The new patient is created and automatically selected for the booking.
Check in a patient
Mark a patient as arrived when they reach the clinic.
- Find the patient’s appointment card. A scheduled appointment is white.
- Click the green check-circle Check In button on the card. (In Compact view, right-click the card and choose Check In.)
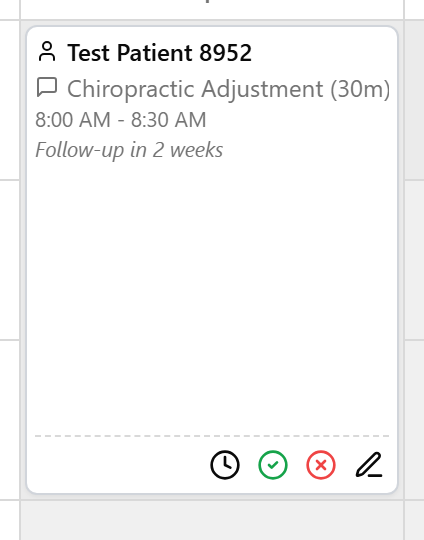
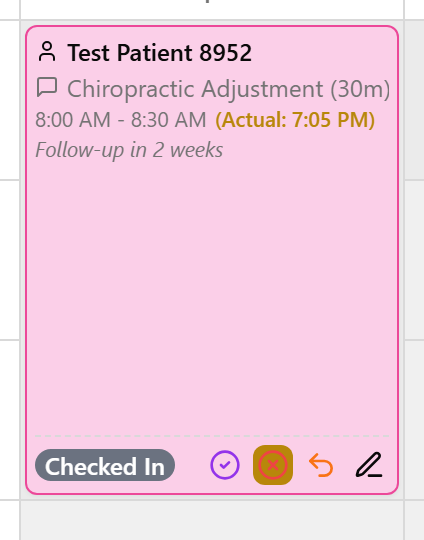
- The card turns pink to show the patient is checked in.
💡 Tip: Shortcut: double-click a scheduled (white) card to check the patient in instantly.
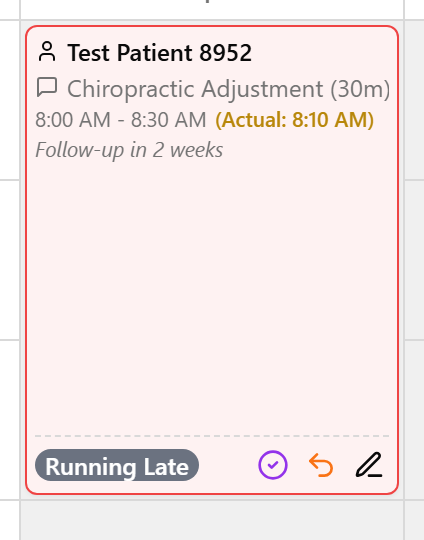
Mark a patient as running late
Flag a patient who hasn’t arrived on time.
- On a scheduled (white) card, open the late control: in Default view click the clock icon; in Compact view right-click the card and choose Mark Late.
- Type the number of minutes in the Late (minutes) field, then click Confirm Late.
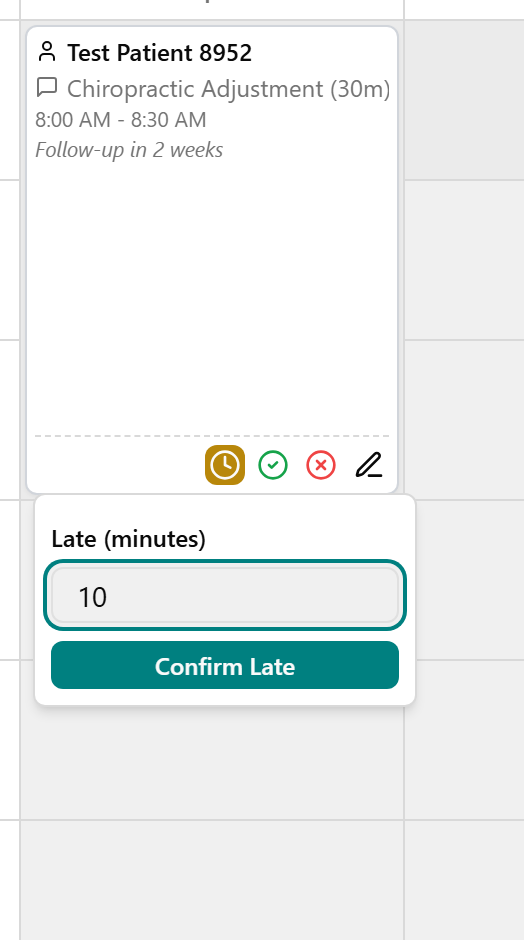
- The card turns red to flag the late status.
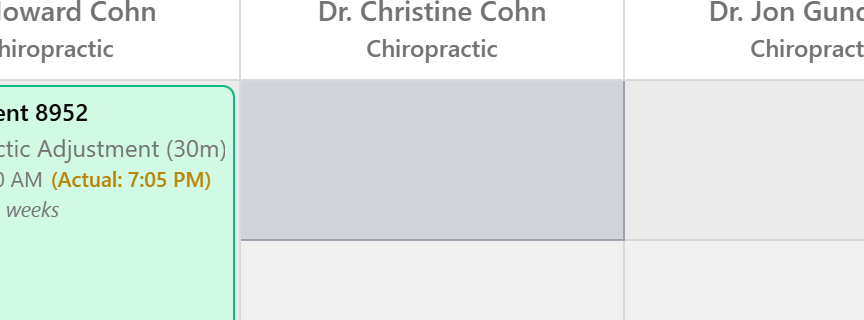
Complete a visit and check out the patient
Mark the visit done, then take payment.
- On a checked-in (pink) card, mark it done: in Default view click the purple check-circle Complete icon; in Compact view right-click and choose Complete. The card turns green.
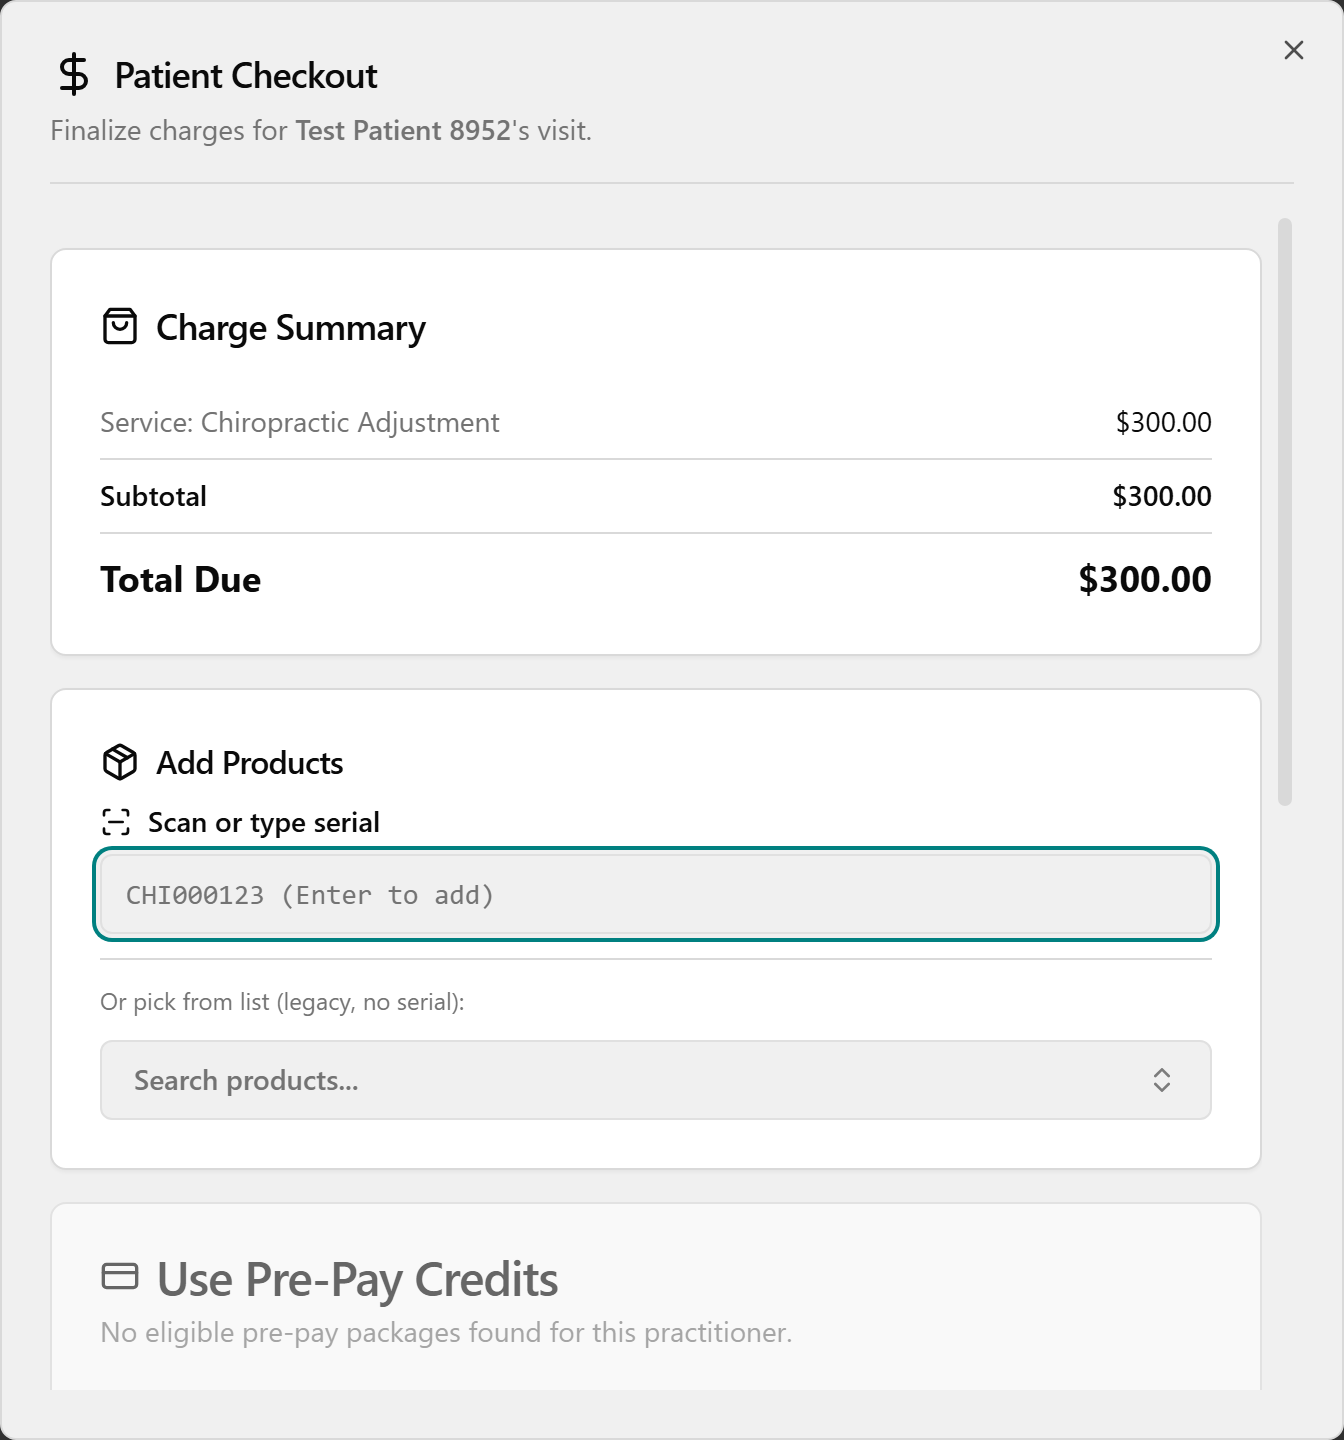
- To take payment, click the purple dollar-sign Check Out icon (Default), or right-click and choose Check Out (Compact).
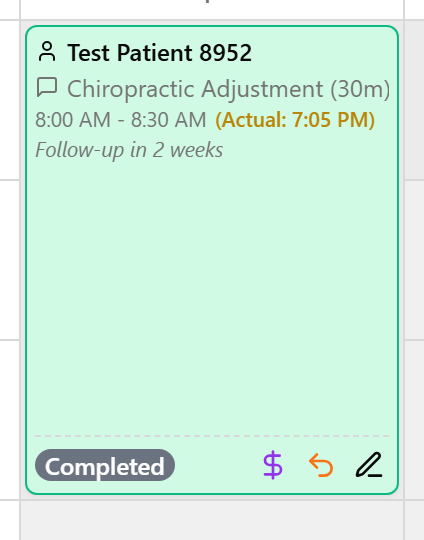
- The Patient Checkout dialog opens. Review the visit and confirm payment there.
💡 Tip: Shortcut: double-click a checked-in (pink) card to complete it AND open checkout in one step. Double-clicking a completed card reopens its checkout.
Add or edit a note on an appointment
Attach a short note to an appointment card.
- Open the note editor: in Default view click the pencil icon on the card; in Compact view right-click and choose Add Notes / Edit Notes.
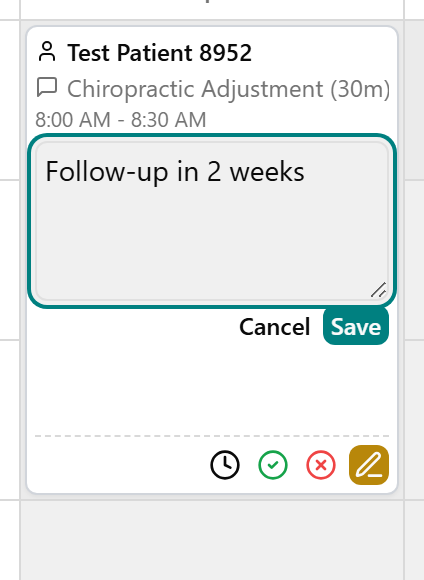
- Type your note and click Save.

Cancel an appointment
Remove an appointment from the calendar.
- Open Cancel: in Default view click the red X-circle Cancel Appointment icon; in Compact view right-click and choose Cancel Appointment.
- In the Cancel Appointment? confirmation, click Yes, Cancel.
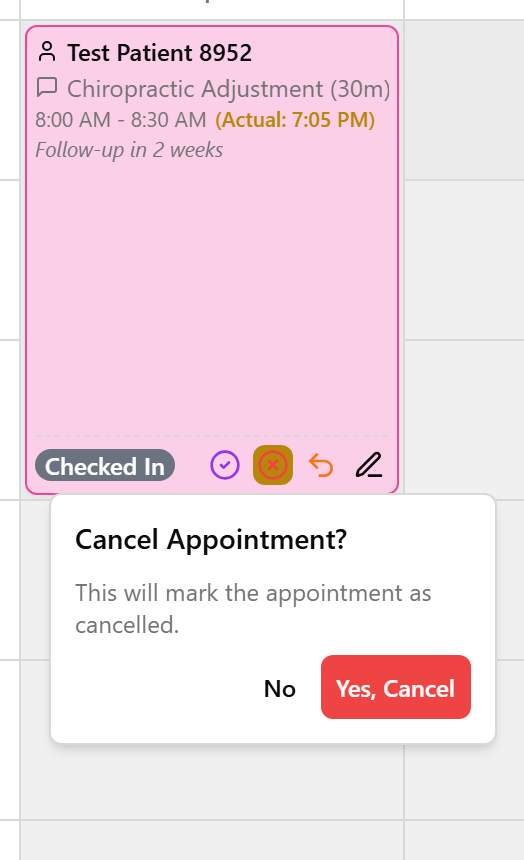
- The appointment is removed from the calendar.
💡 Tip: There’s no separate "No-Show" button — Cancel is how you clear an appointment off the calendar. Check with your manager on how your clinic records no-shows.
Undo a status change (Revert)
Move an appointment back to an earlier status.
- On a checked-in, running-late, or completed card, open Revert: in Default view click the orange undo (curved arrow) icon; in Compact view right-click the card.
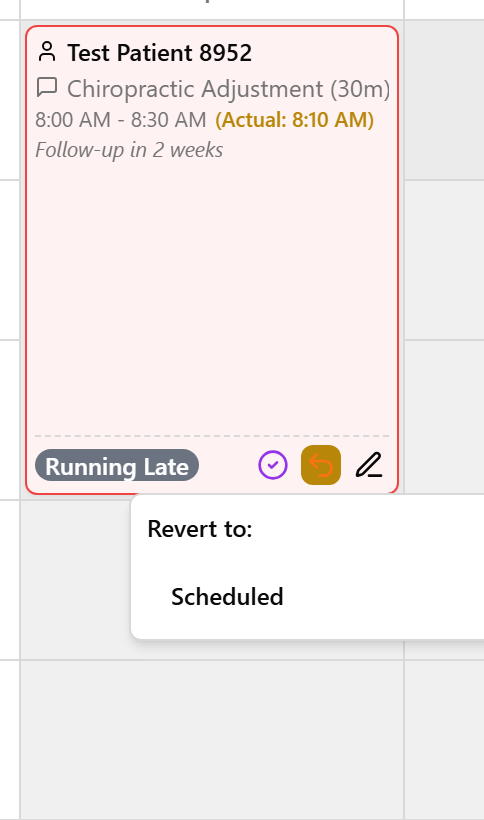
- Choose the status to go back to. The card returns to that earlier status colour.
Add or remove a buffer (break) block
Block off a slot so it can’t be booked.
- To add a buffer, right-click an empty slot. In Default view it adds a 10-minute buffer immediately; in Compact view choose Add 10-min Buffer from the small menu.
- To remove it, click the gray block (its tooltip reads "Buffer Block - Click to remove").
Find an open slot across several days
Use the Find Availability tab to search a date range for open times. (Admin and Front Desk only.)
- Click the Find Availability tab at the top of the page.
- In the Find Available Appointments card, optionally choose a Patient (required to actually book) and a Service, then choose a Practitioner and a Duration, and set the From Date and To Date.
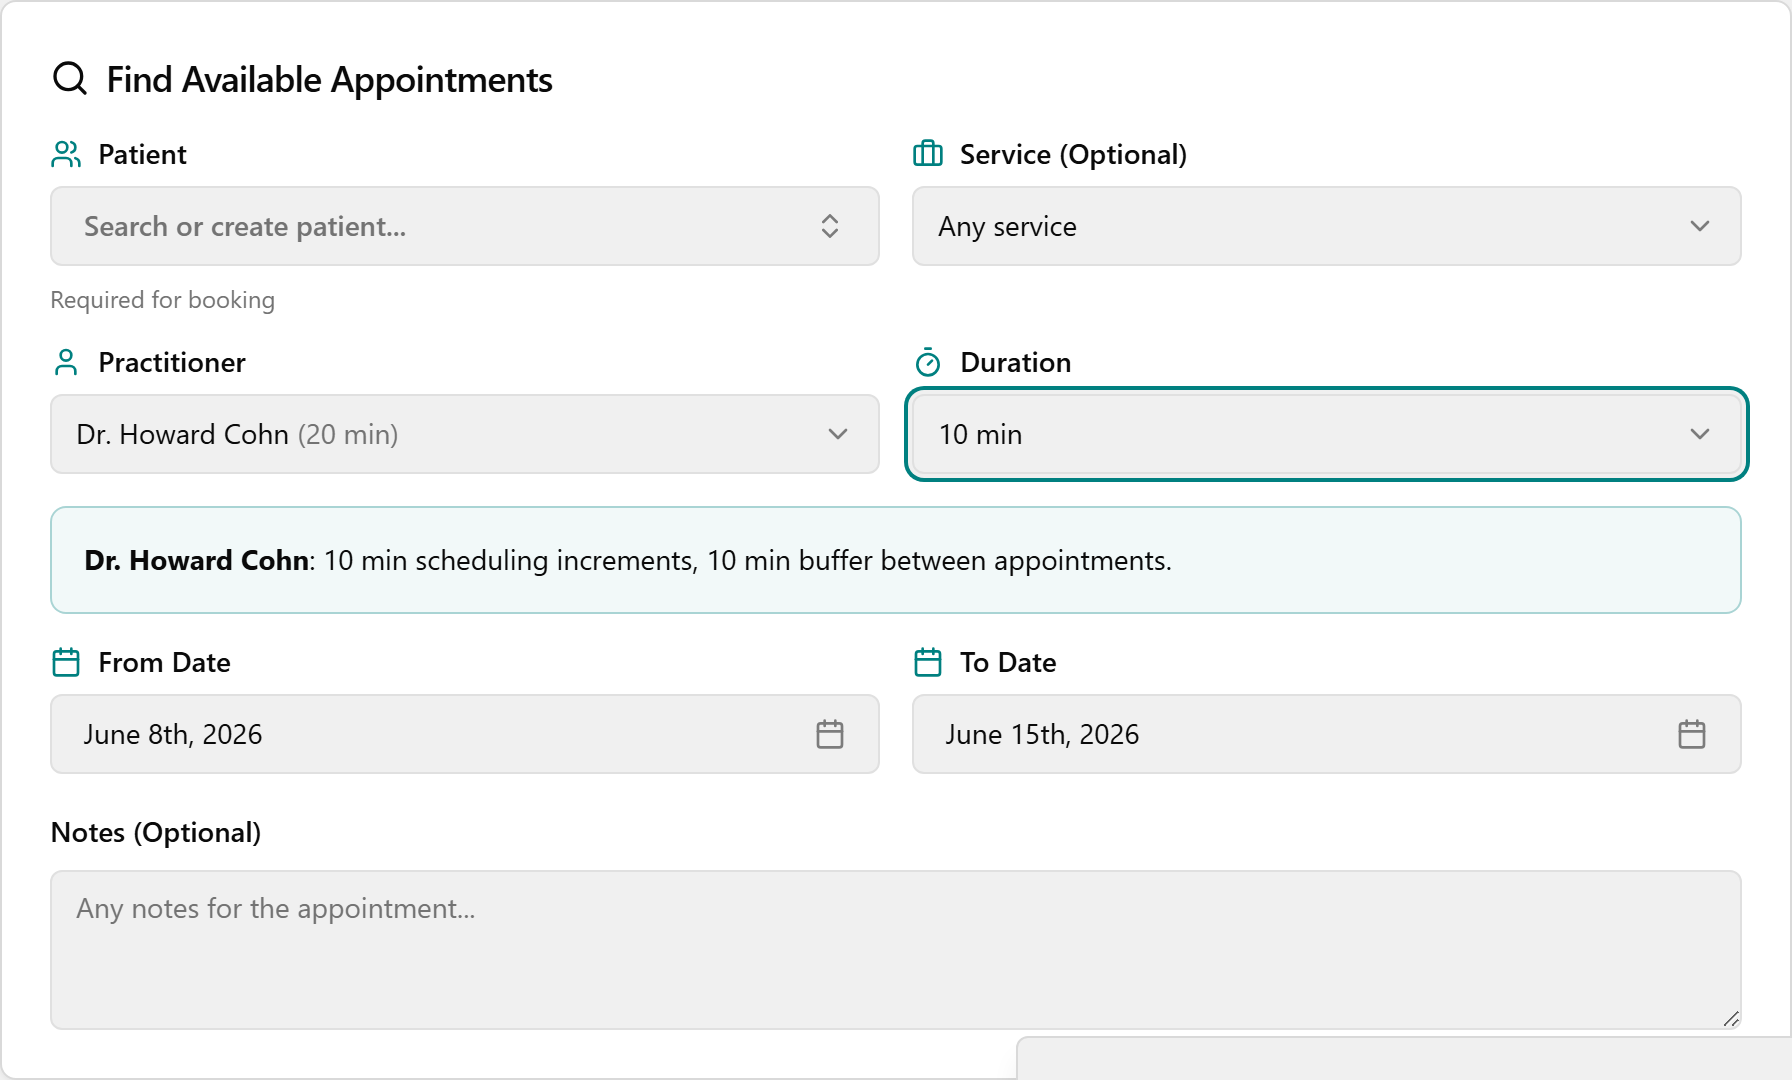
- The tool searches automatically. Under Available Slots, use the ‹ / › arrows to move day by day, then click a time button to book it.

Book a specific time (Manual Override)
Book an exact time even if it isn’t offered as an open slot. (Inside the Find Availability tab.)
- In the Find Availability tab, scroll to Manual Override (Specific Time) and click to expand it.

- Make sure a Patient and Practitioner are selected above, pick a Date, type a Time, and click Book Manually.
💡 Tip: Manual Override books at the exact time you choose even if it isn’t normally available, so it may create a scheduling conflict.