Pre-Pay Packages
Manage your catalog of pre-pay packages: view bundles grouped by service category, create, edit, or delete them, toggle holiday bonus cash, and (as an Admin) set the standard pricing discounts are based on.
Auto-generated from the in-app Help for /prepay-packages — source of truth src/lib/help-content/.
Browse and expand package categories
Compare packages within each service category.
- Open the Packages tab (it is selected by default).
- Find the service category you want — each appears as its own section with a colored name badge (e.g. Care $75, Massage Therapy) and a count badge like 4 packages.
- Click a section header to expand or collapse it. You can keep several sections open at once.
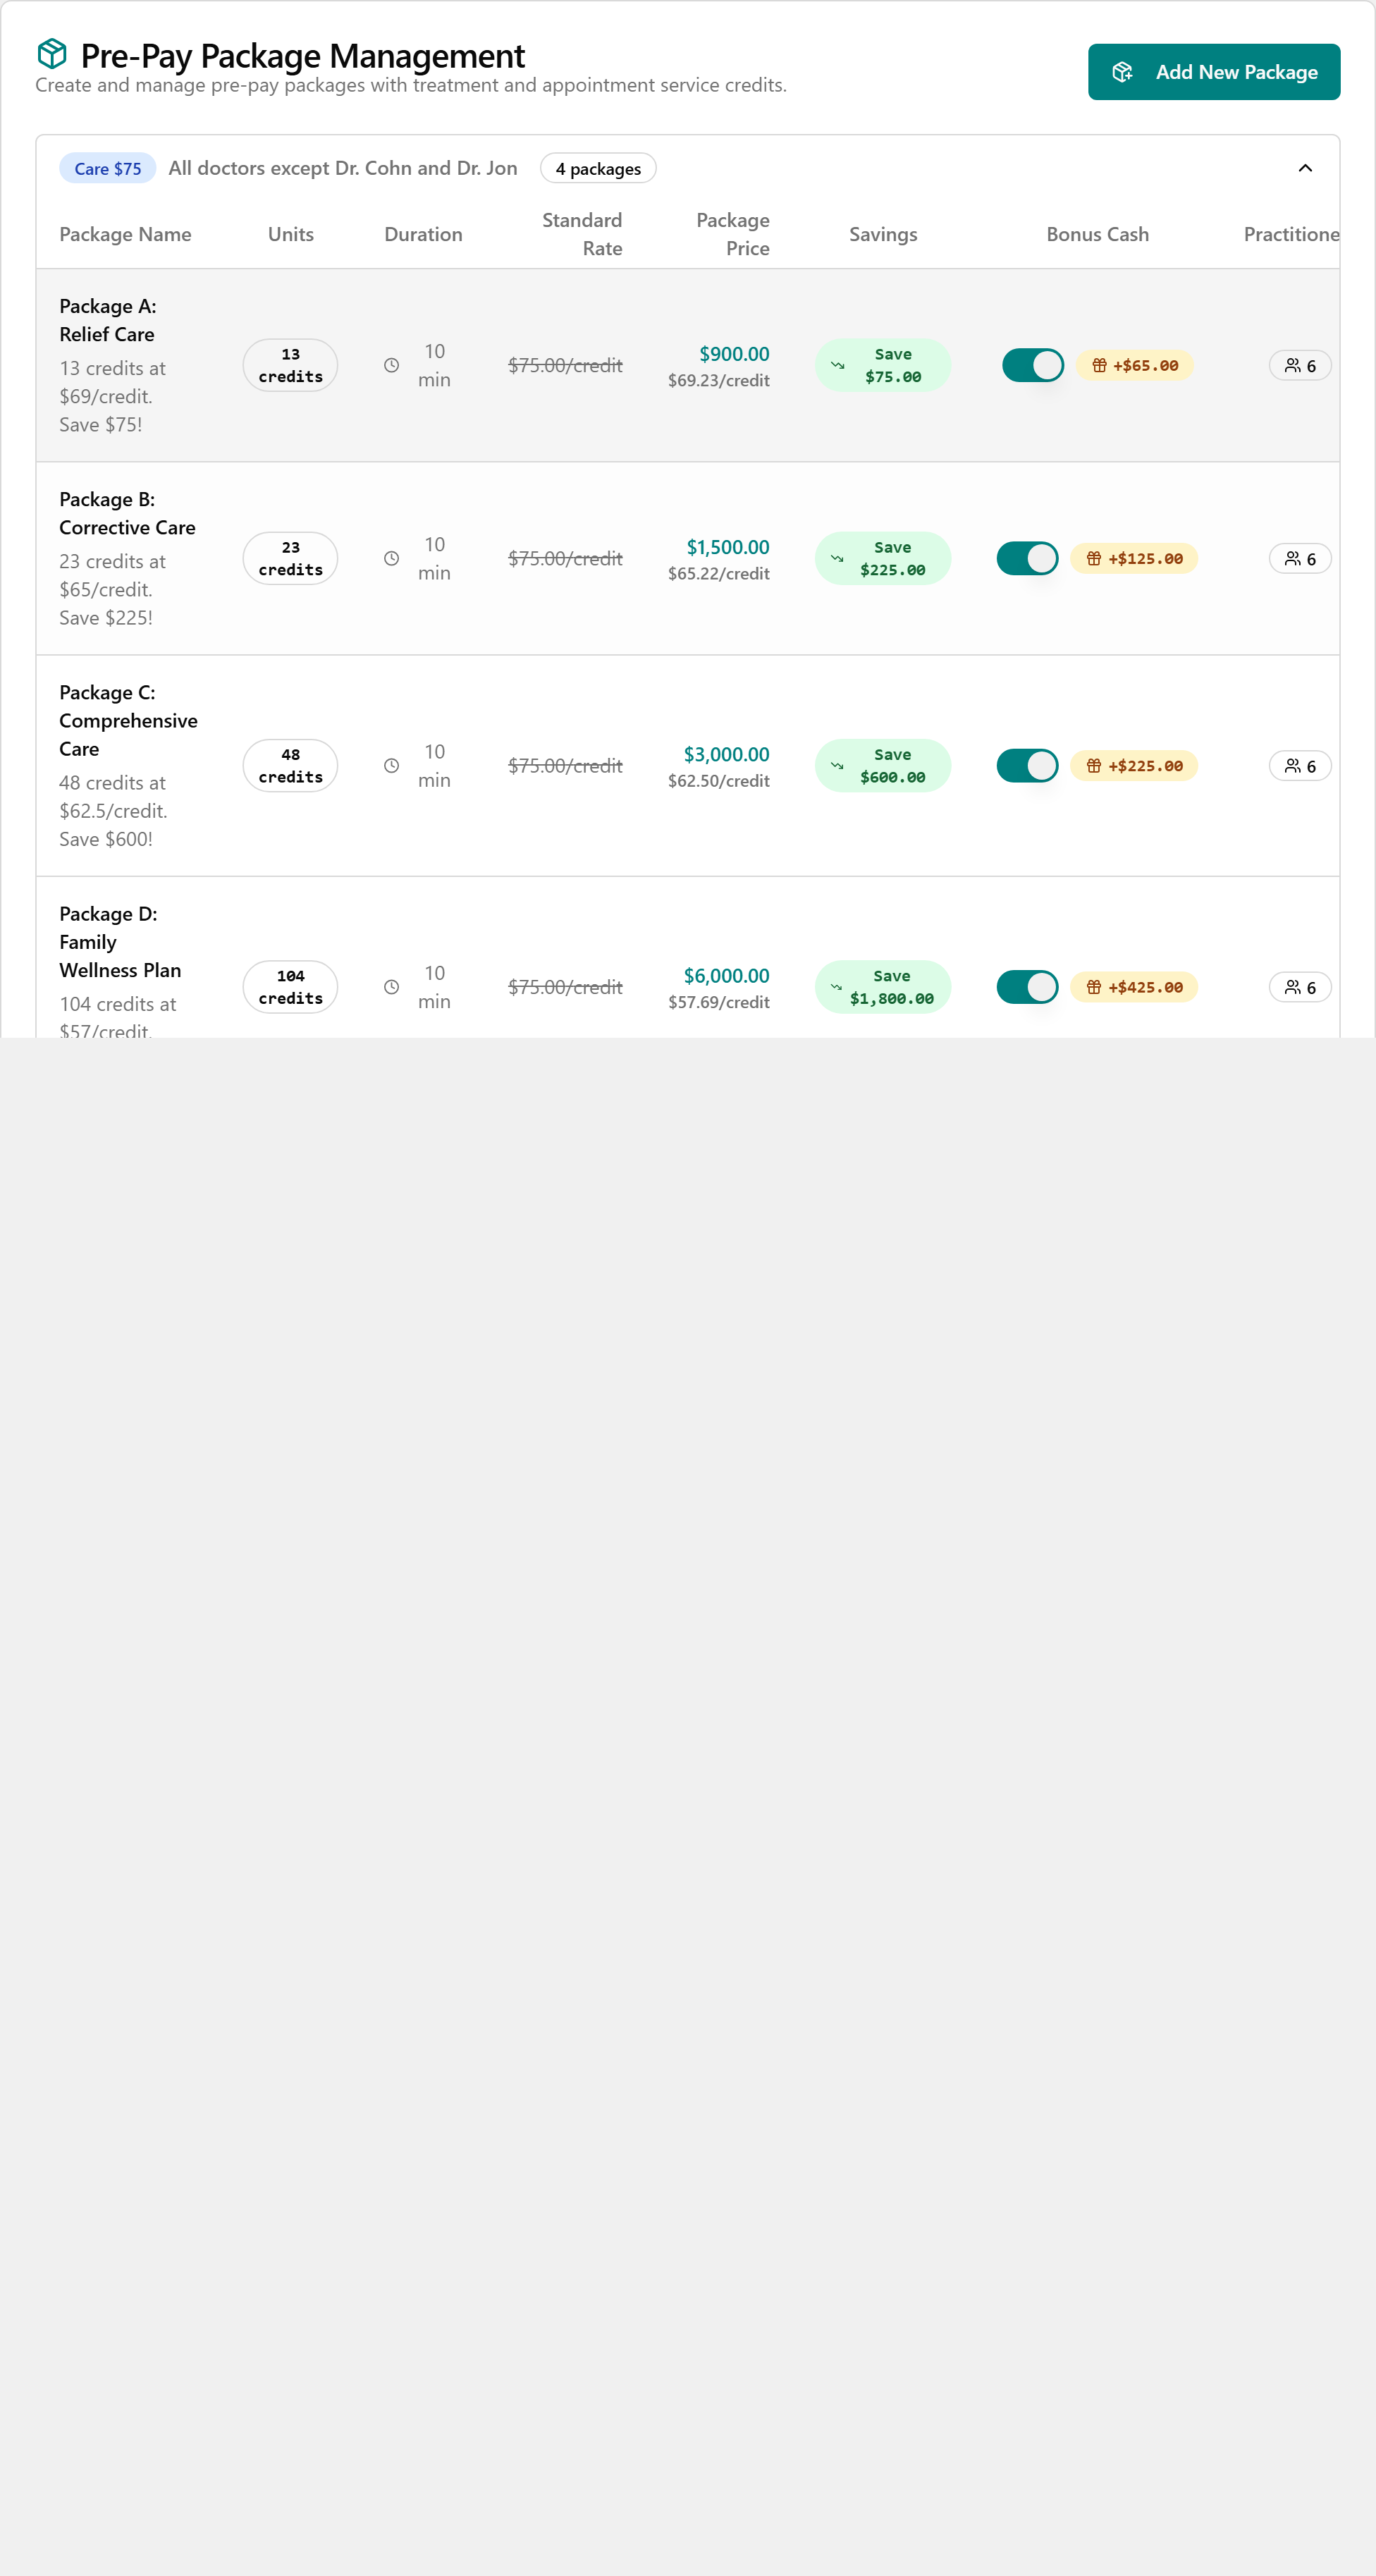
- Read across each row to compare the Standard Rate, Package Price, and Savings.
Create a new package
Add a new pre-pay bundle to the catalog.
- On the Packages tab, click Add New Package (top right).
- In the Create New Pre-Pay Package dialog, type a Package Name and, optionally, a Description.
- Choose a Service Category (Care $75, Care $100, Massage Therapy, Acupuncture, or Wellness Therapy). For Care $75 or Care $100, also pick a Package Tier if it applies.
- Enter the Number of credits (or visits/sessions) and, if shown, Minutes per credit.
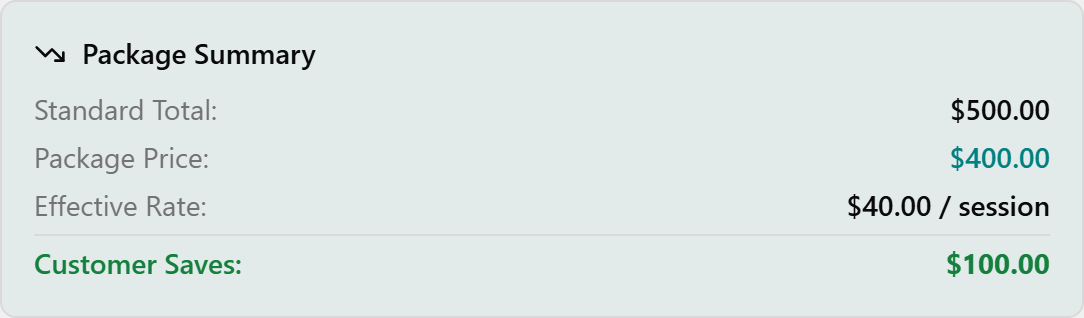
- Enter the Standard Rate and the Package Price, then check the Package Summary box to confirm the discount and Customer Saves amount look right.
- Optionally set Bonus Cash (Holiday Promo), an Expiration Period, and Assigned Practitioners (leave all unticked to allow every practitioner). Use Select all or Clear all to set the list quickly.
- Leave Active Status on, then click Create Package.

💡 Tip: Package Name, Service Category, Number of (credits/visits/sessions), and Package Price are required. All packages are non-refundable — this is fixed and stated at the top of the dialog.
Edit an existing package
- Find the package in its category section and click the Edit button (pencil icon) in its Actions column.
- In the Edit Pre-Pay Package dialog, change any fields you need — name, price, units, bonus cash, assigned practitioners, active status, and so on.
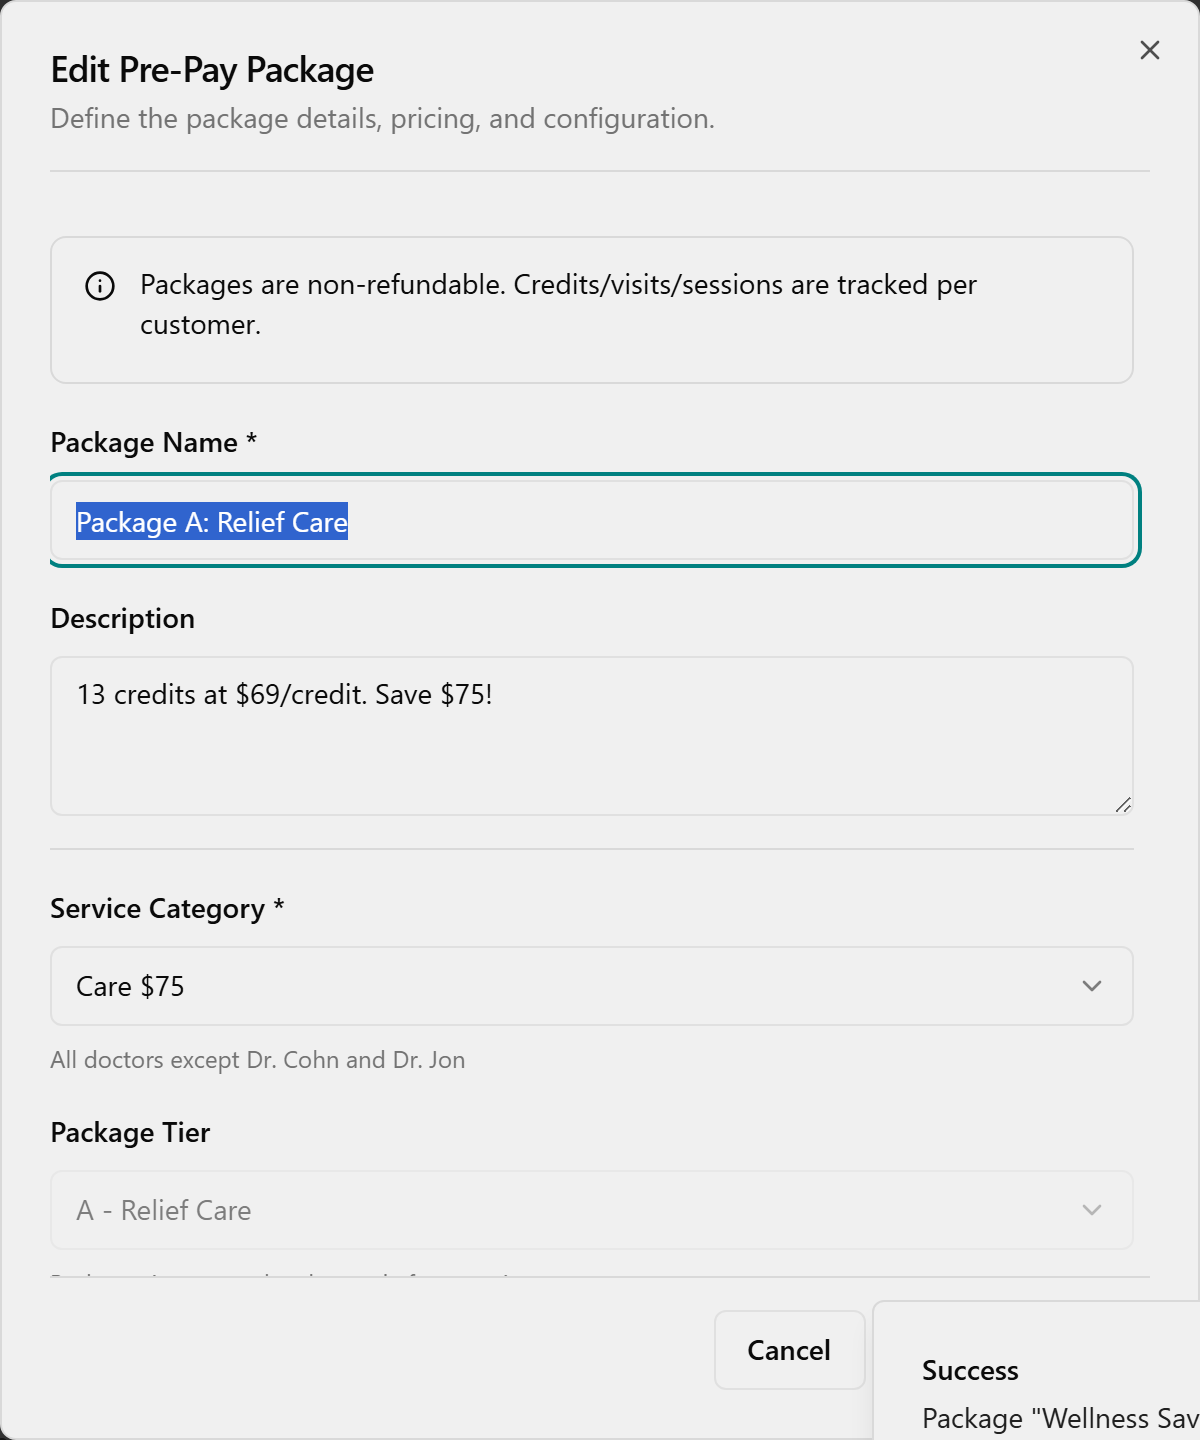
- Click Update Package.
💡 Tip: For chiropractic (Care) packages, Package Tier is locked when editing — you'll see "Package tier cannot be changed after creation".
Turn bonus cash on or off
Quickly enable or disable a package's holiday bonus without opening the editor.
- Find a package with bonus cash — its row shows a switch and an amber +$... badge in the Bonus Cash column.
- Click the switch in that column to toggle the bonus on or off.

- When on, the +$... badge is amber; when off, it appears greyed out with a line through it.
💡 Tip: The Bonus Cash column only appears in a section when at least one of its packages has a bonus-cash amount set.
See which practitioners a package is for
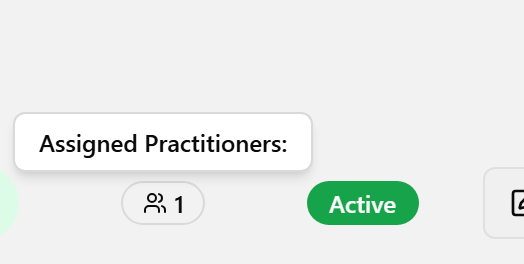
- Look at the Practitioners column for the package.
- If it says All, every active practitioner can use the package.
- If it shows a badge with a number, hover over it to open the Assigned Practitioners: tooltip listing each assigned name.
Delete a package
- Find the package and click the Delete button (red trash icon) in its Actions column.
- In the Are you absolutely sure? confirmation dialog, click Continue to delete or Cancel to keep the package.
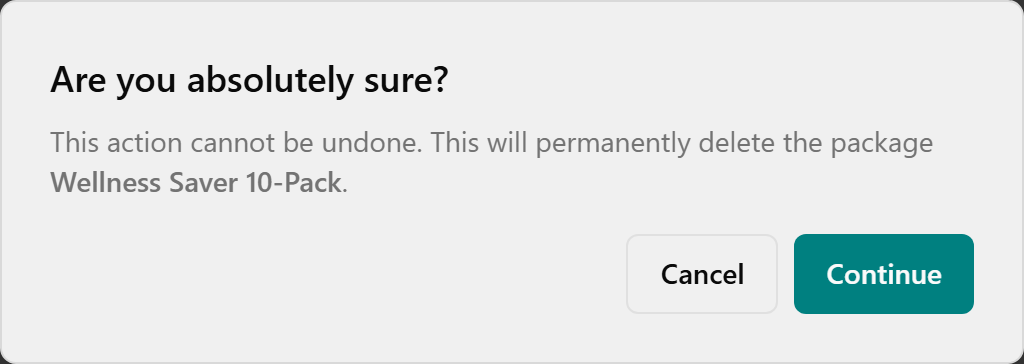
💡 Tip: Deleting is permanent and cannot be undone. To take a package out of circulation instead, edit it and switch Active Status off so it shows as Inactive.
Set the standard pricing
Define the base rates that future package discounts are calculated from.
- Click the Settings tab at the top of the page.
- In Standard Treatment Credit Price, enter the flat rate for one treatment credit for un-assisted services.
- Under Appointment Service Rate, choose Per Hour or Per 10-Minute Interval, then type the rate. The Equivalent rates box updates as you type.
- In Minutes per Service Credit, enter how many minutes one credit represents, then review the Example Calculation card.
- Click Save Settings. To discard unsaved changes, click Reset.
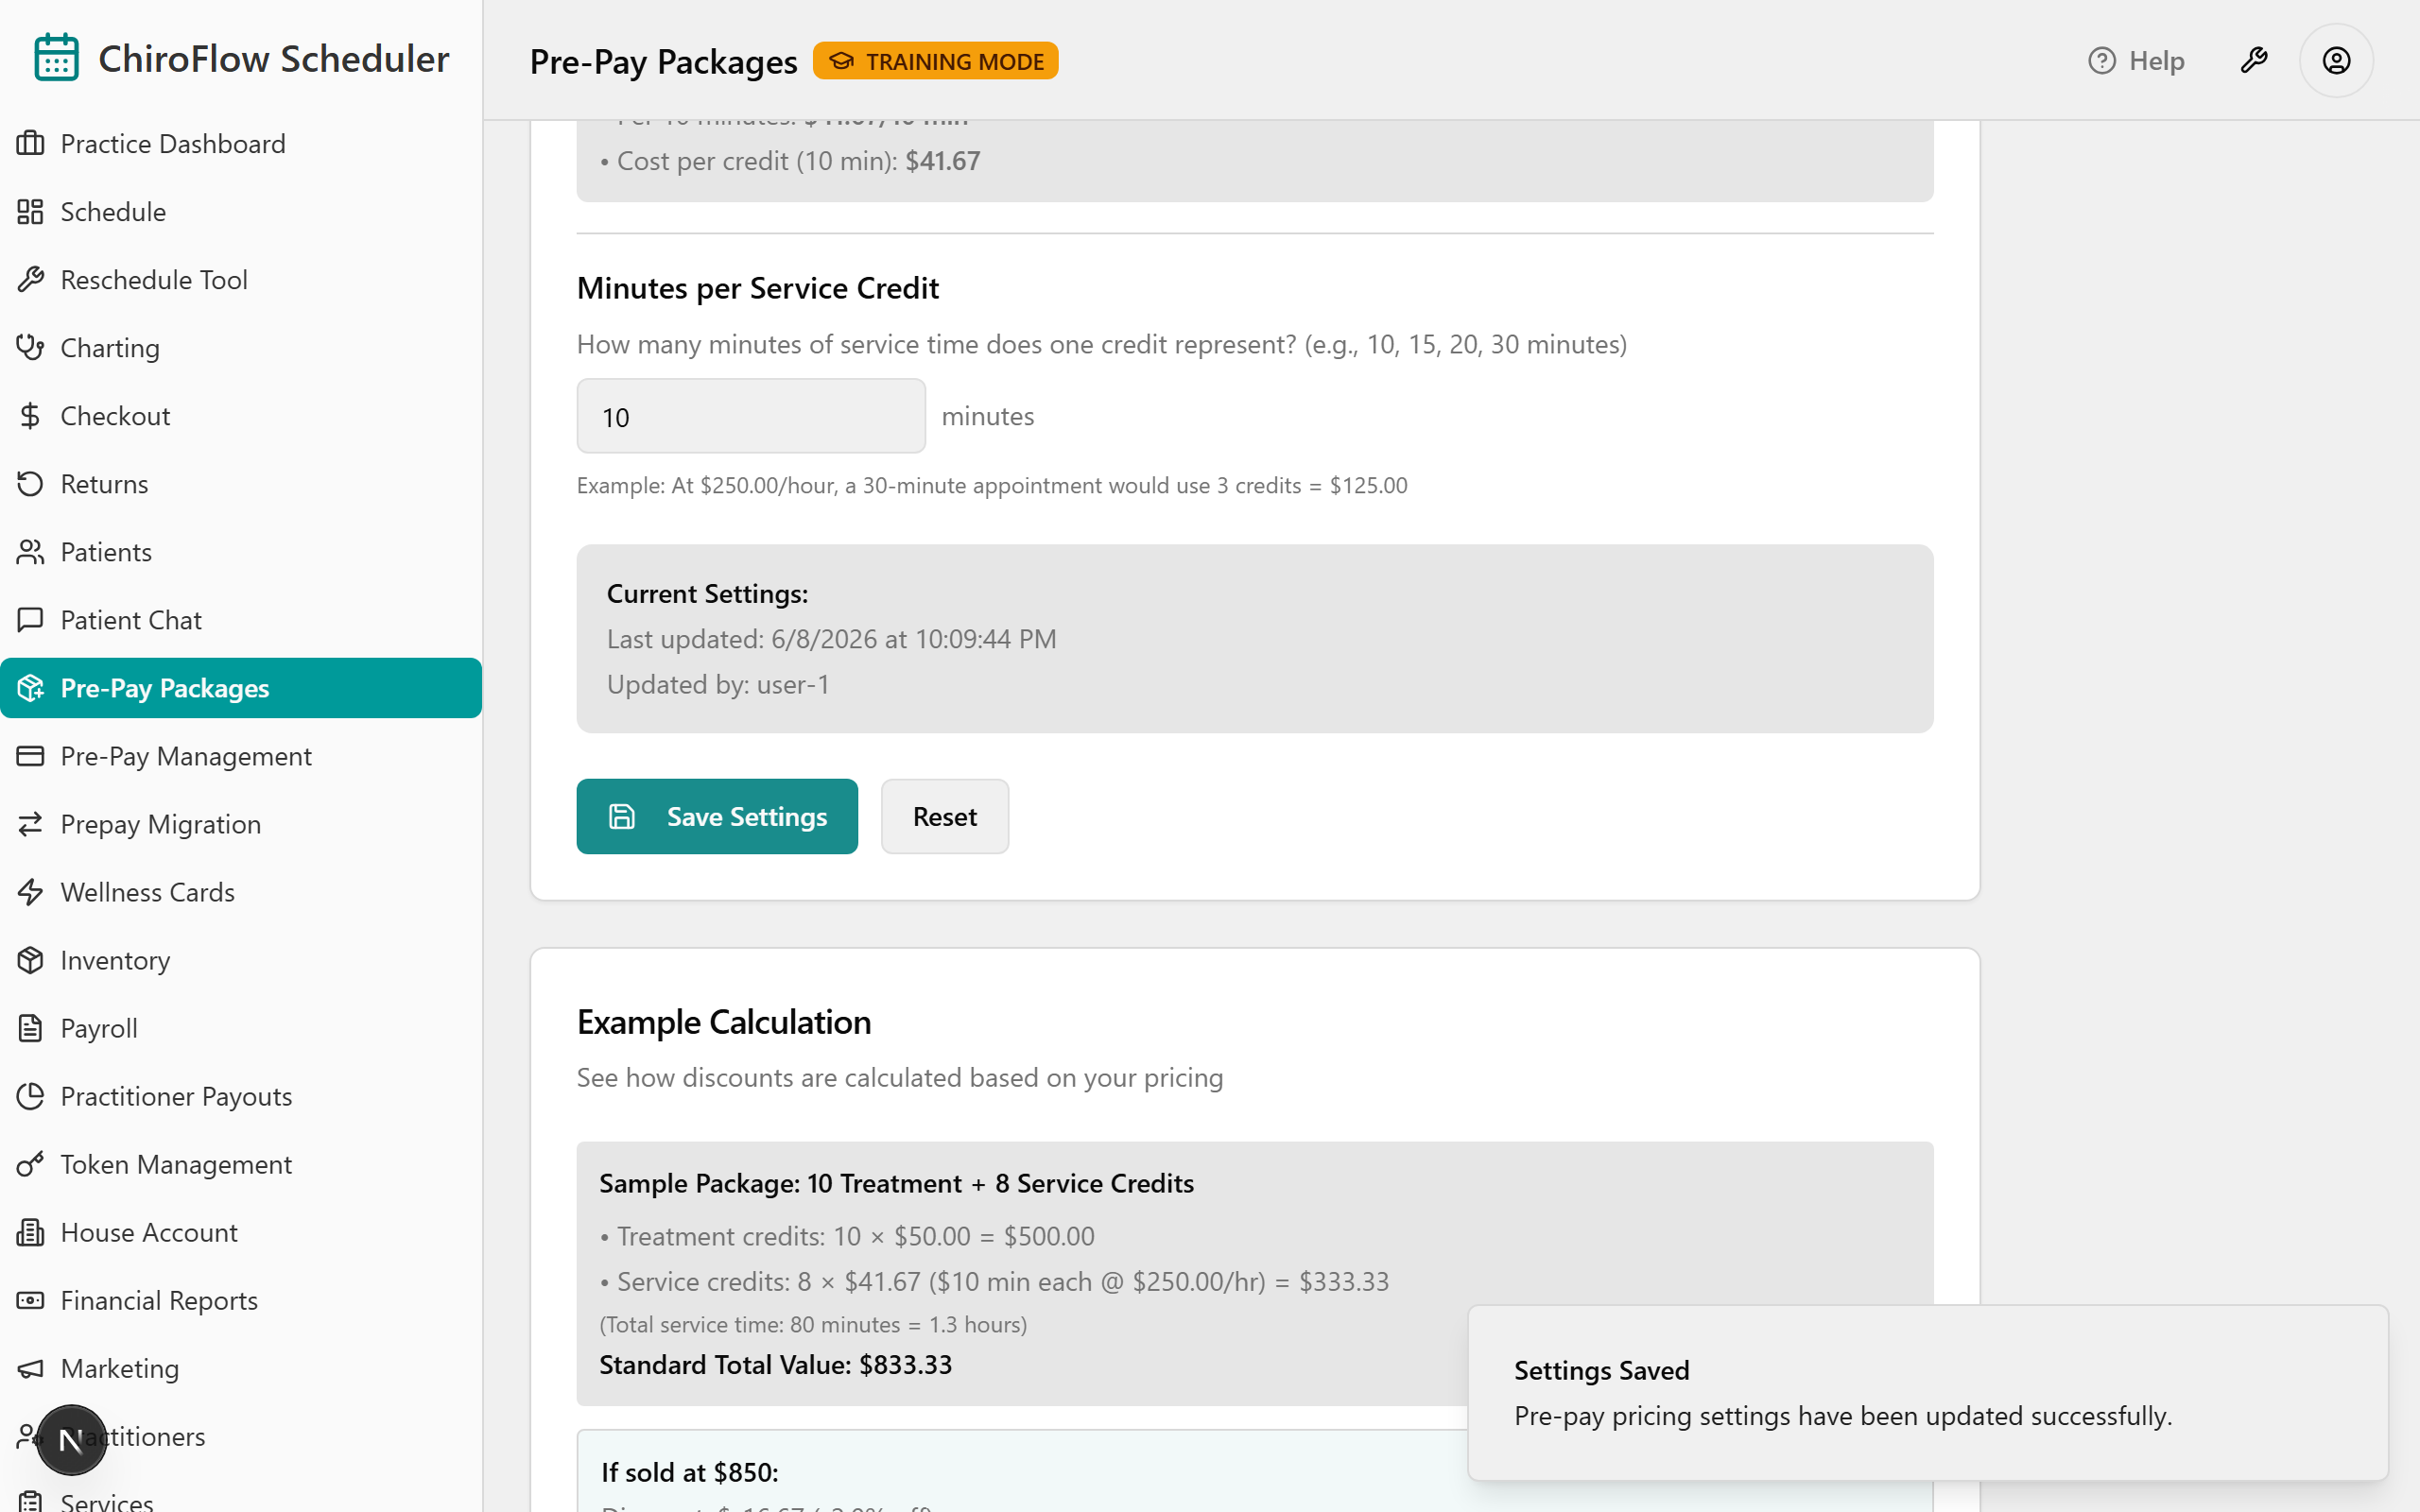
💡 Tip: Only Admins see the Settings tab. Changes affect discounts for future packages only — existing packages are not repriced.